
VS Code Extension
The Roost GPT VS code extension allows you to generate tests for your code using RoostGPT with just a click, straight from your VS Code workspace.
Installation:
In order to use the RoostGPT VS Code extension, you must have VS Code ready and installed in your system, as well as any dependencies which are required to run your code, as RoostGPT will often run its generated test code in order to improve it.
You can download and install VS Code for your Operating system here.
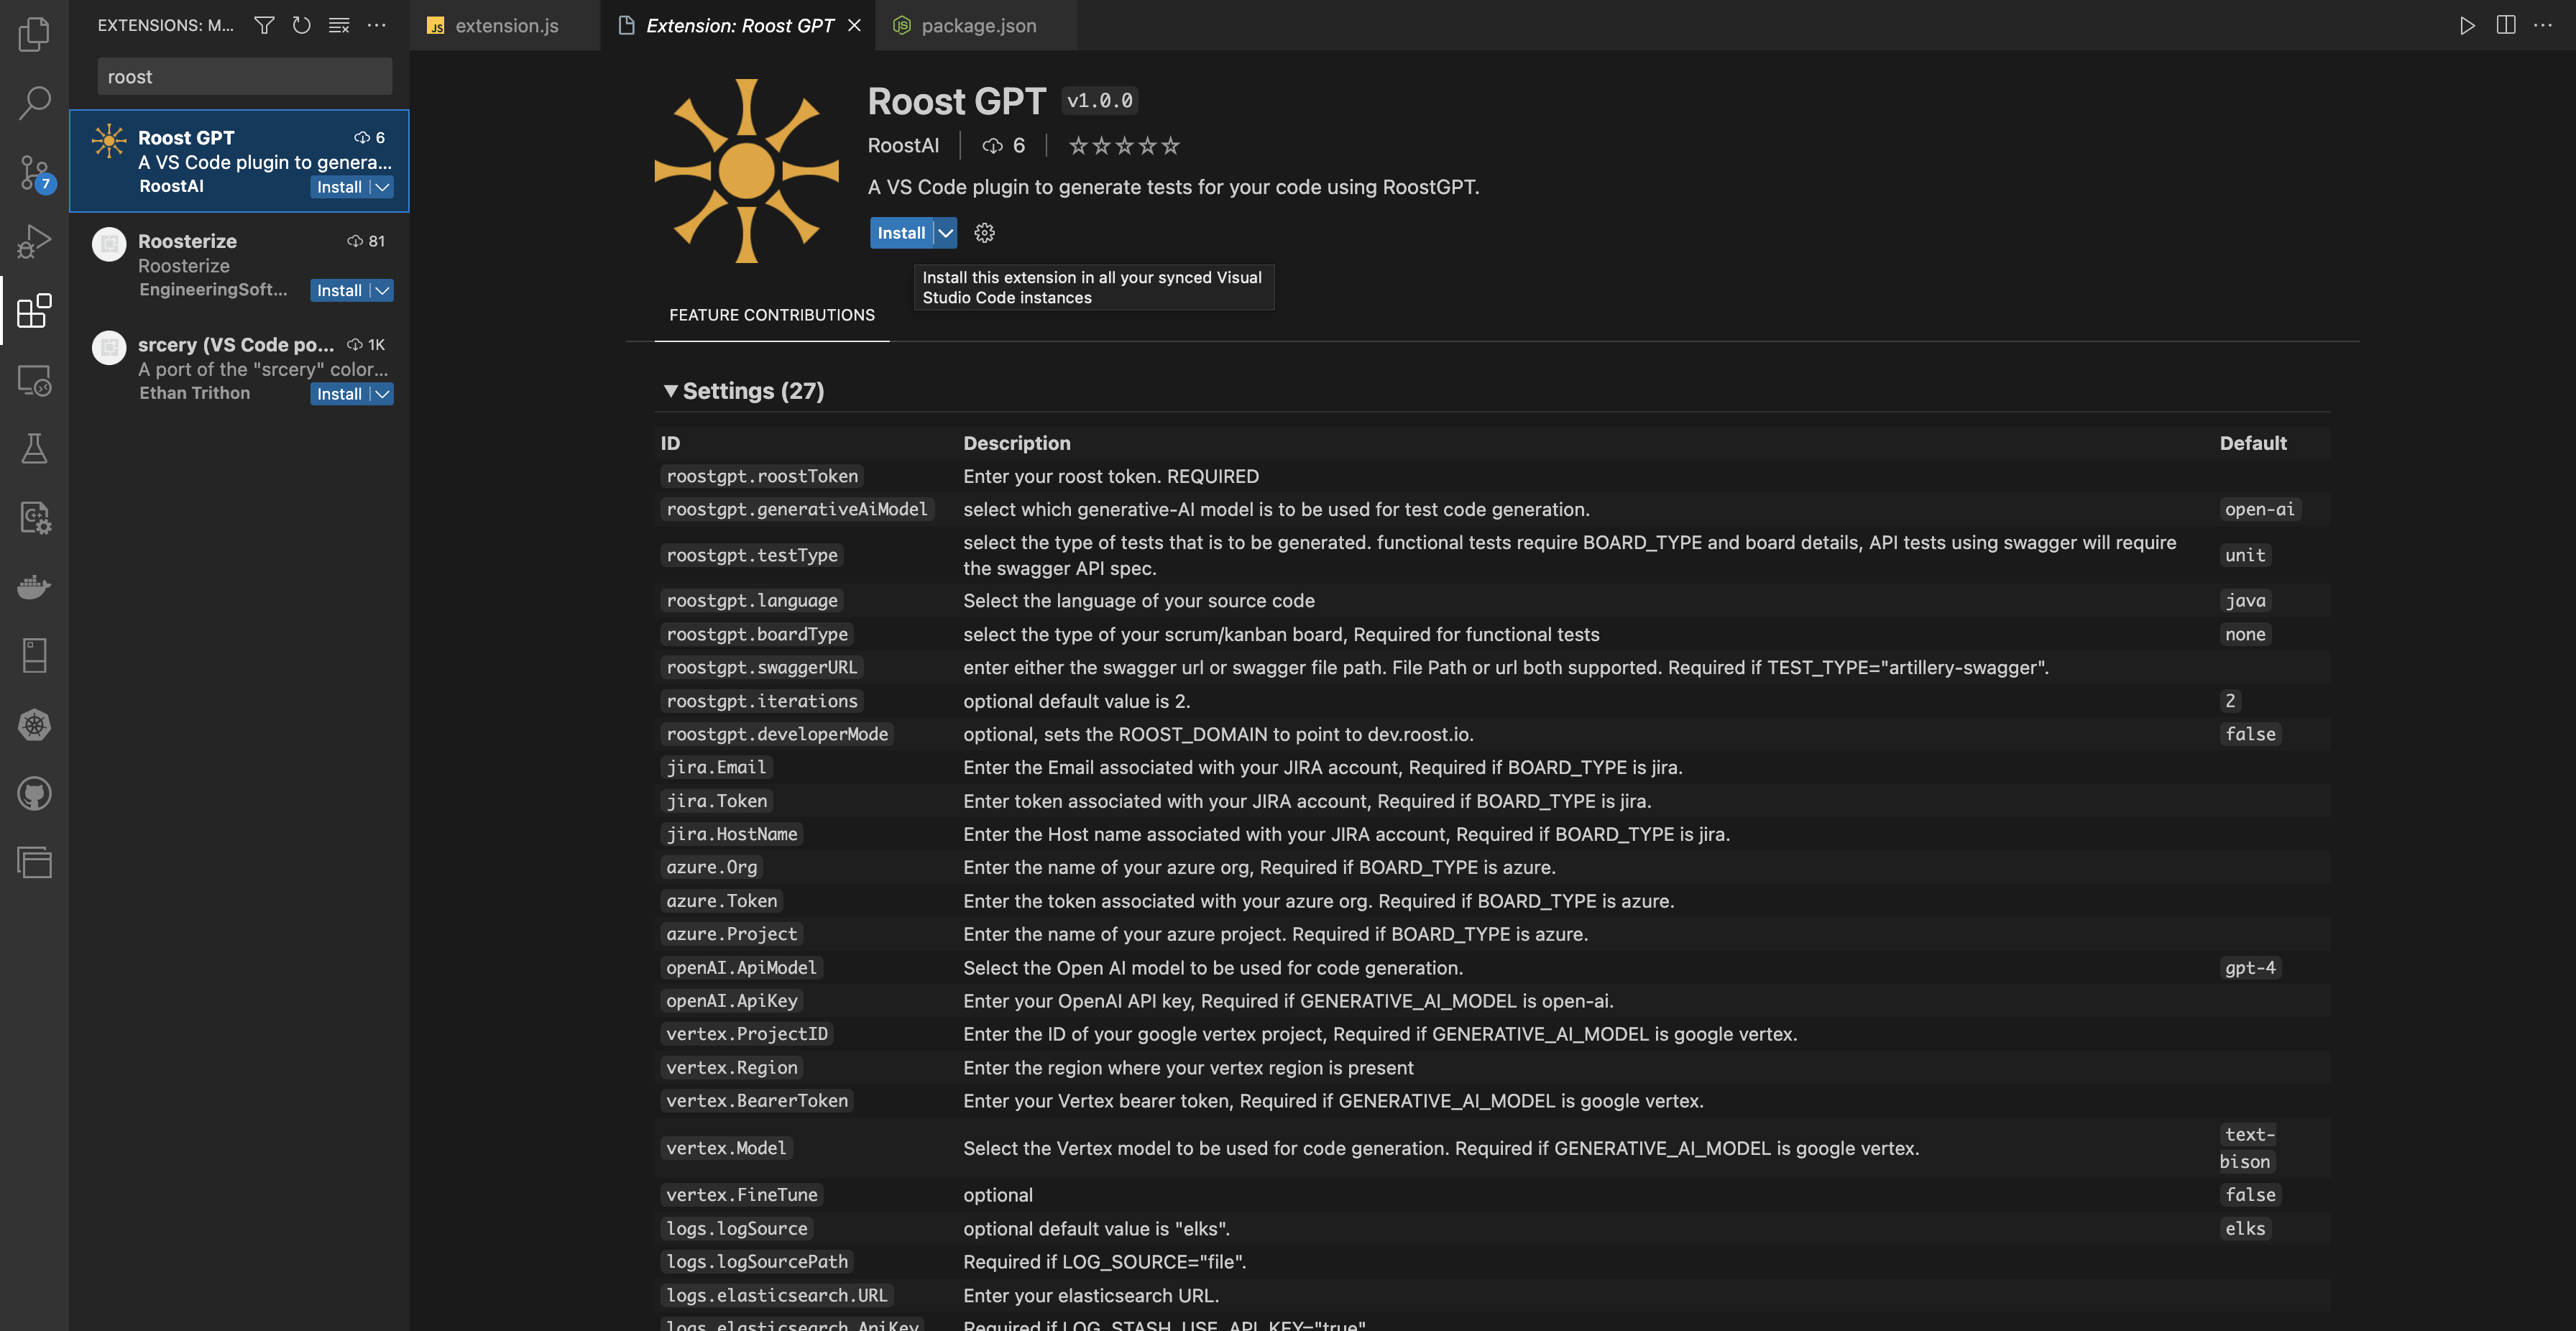
After VS Code is Successfully installed in your system, you can go ahead and download the Roost GPT VS Code extension from the VS Code marketplace, just simply search for Roost GPT in the extension store. Alternatively, you can download and install the VS code extension from here.
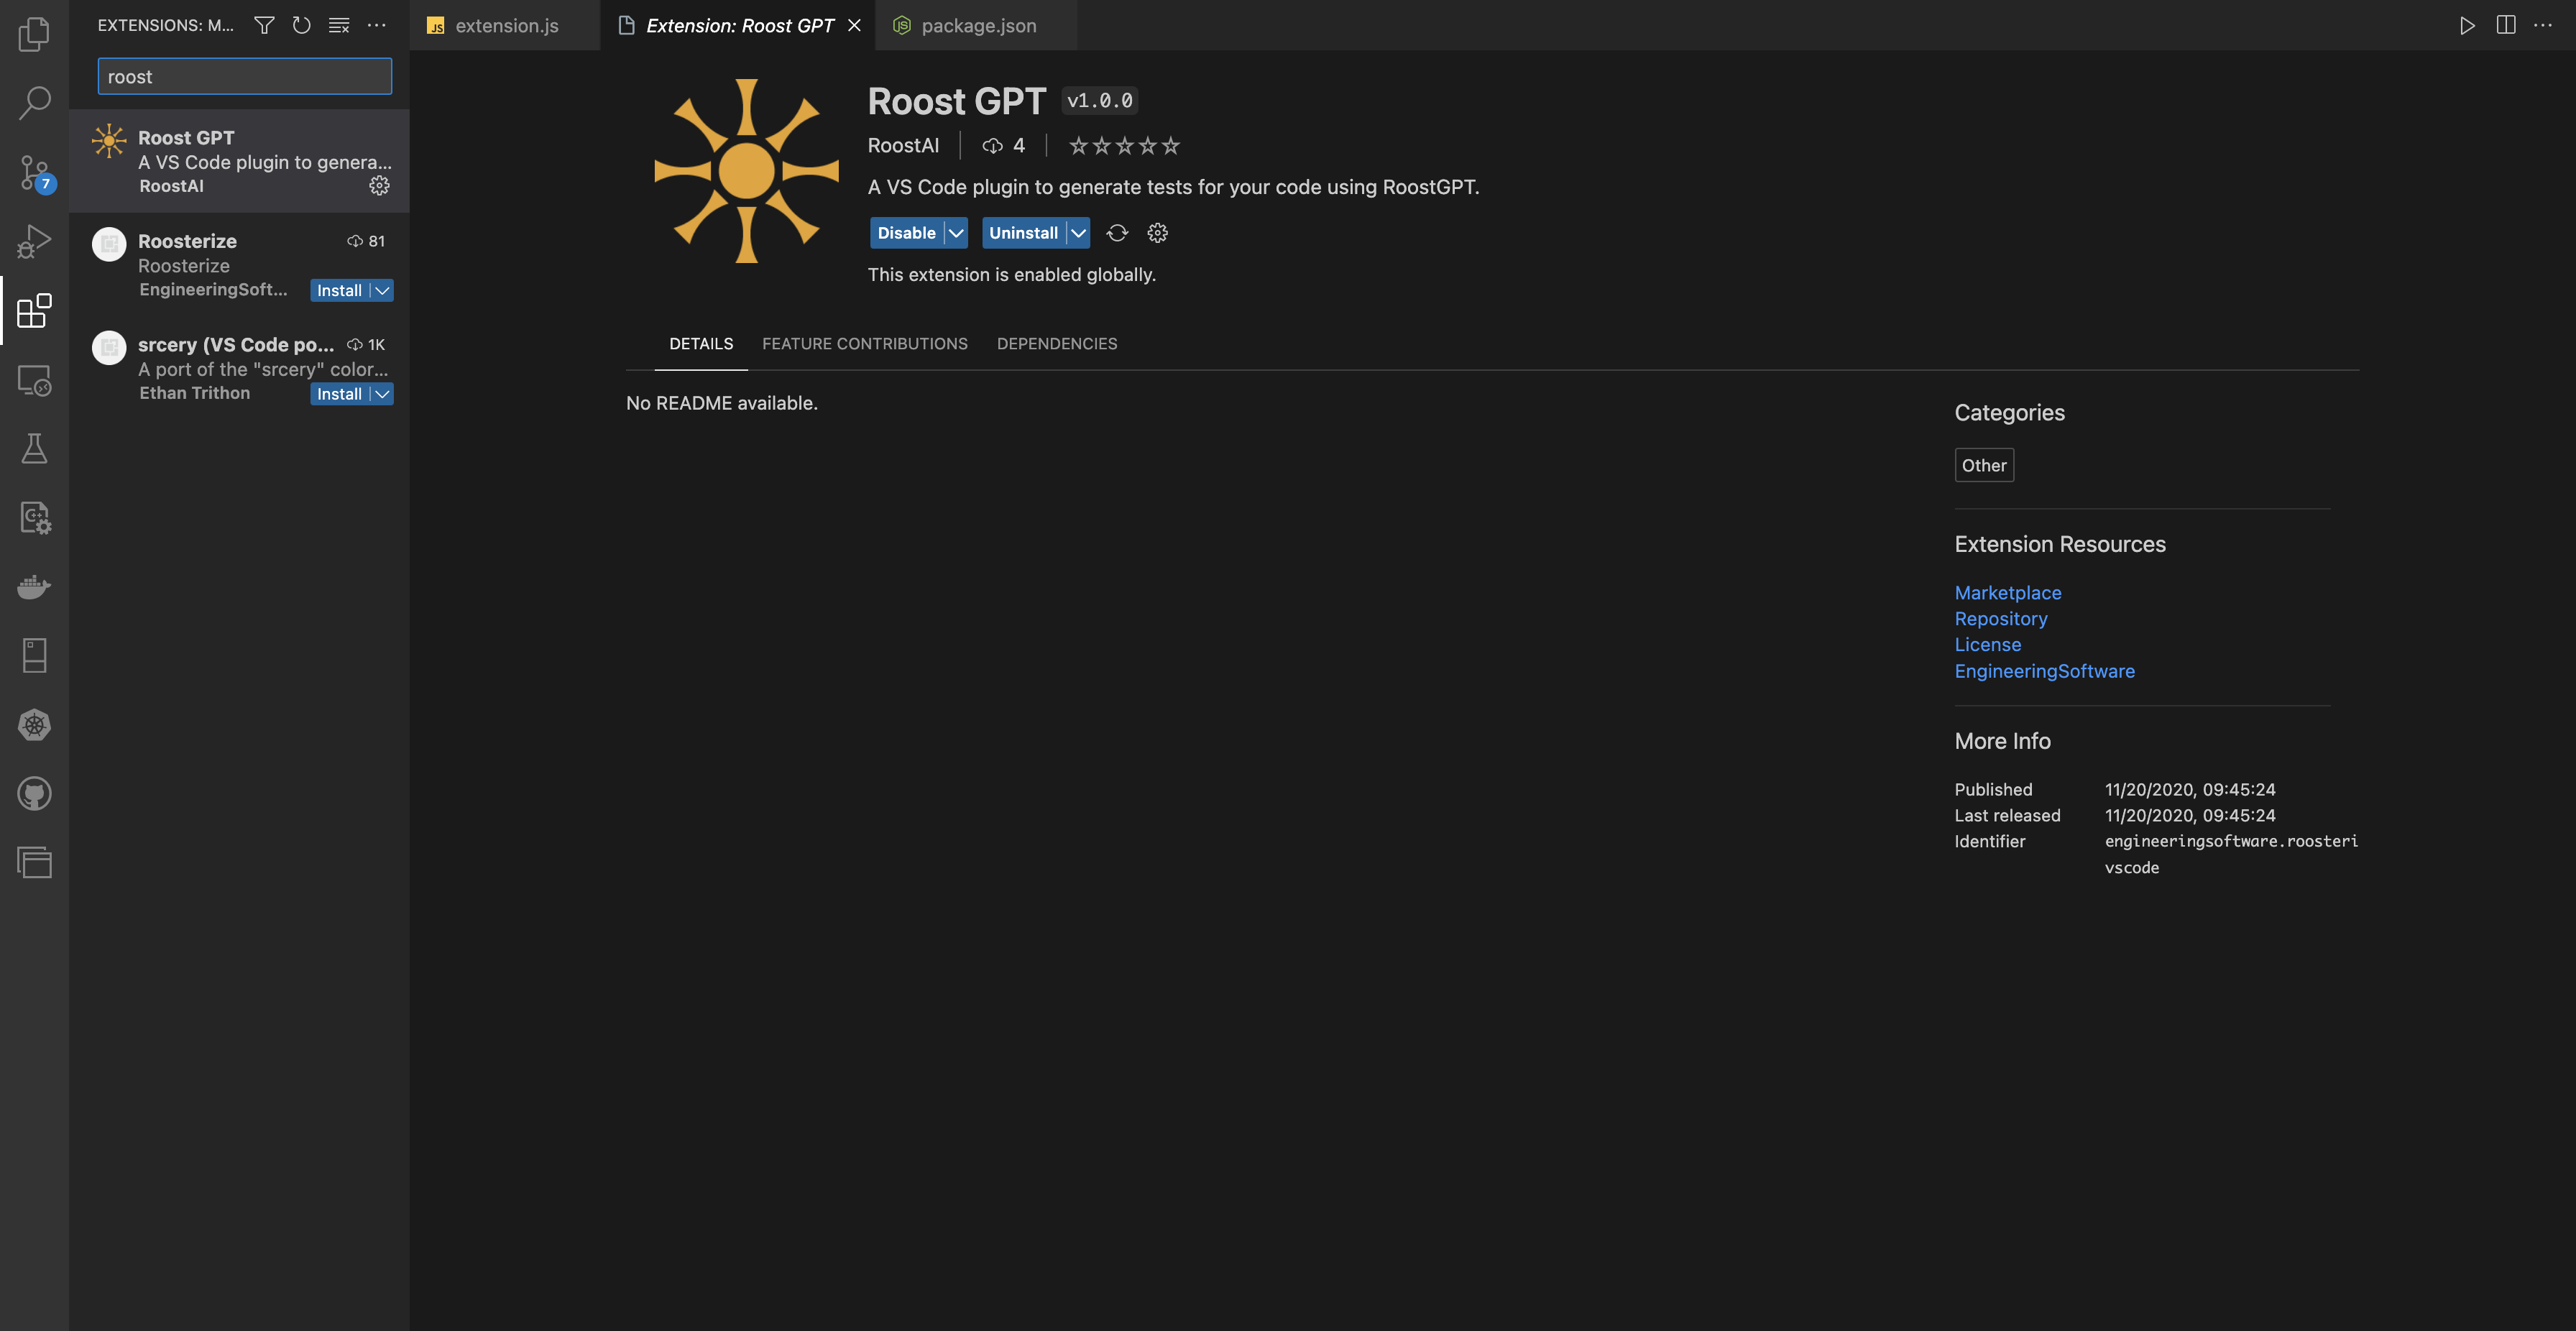
Once the extension is installed, you are ready to generate tests for your code.
Configuration:
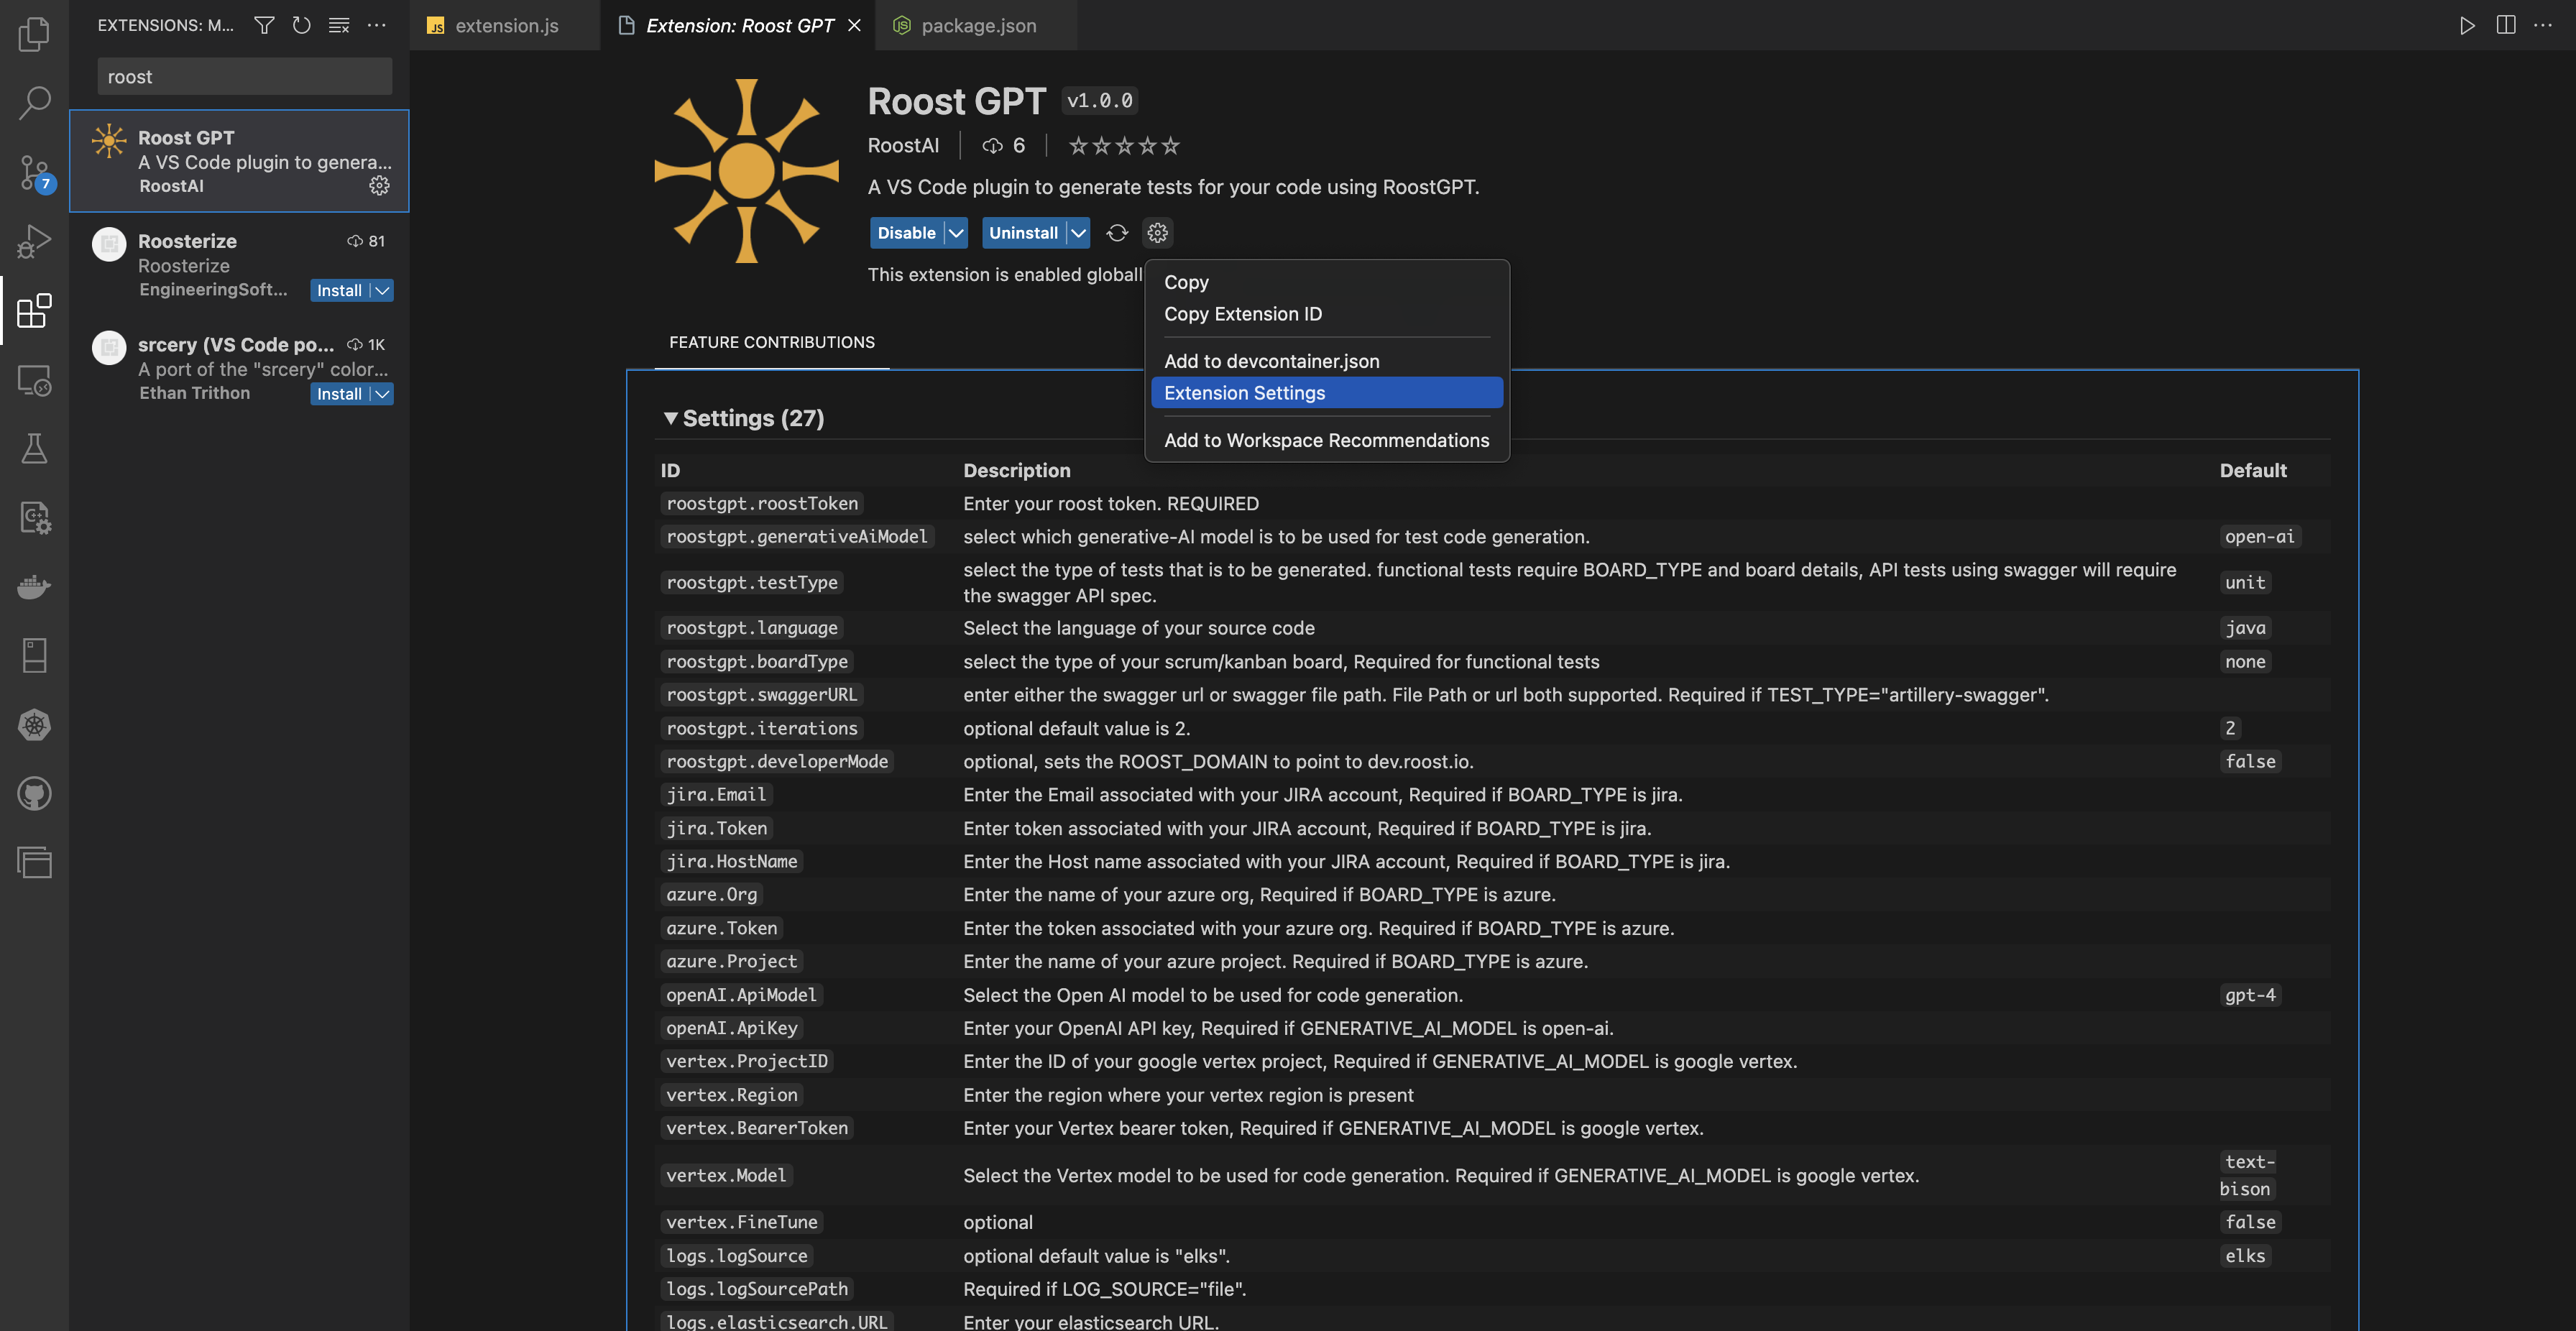
Once the extension has been successfully installed in your system, you can then proceed with configuring the extension to start generating tests. This involves providing information that is required for test generation. In order to configure the extension to use it, simply open the extension settings for Roost GPT, you can search for it in the extension store, or you can find it in the list of your installed extensions.
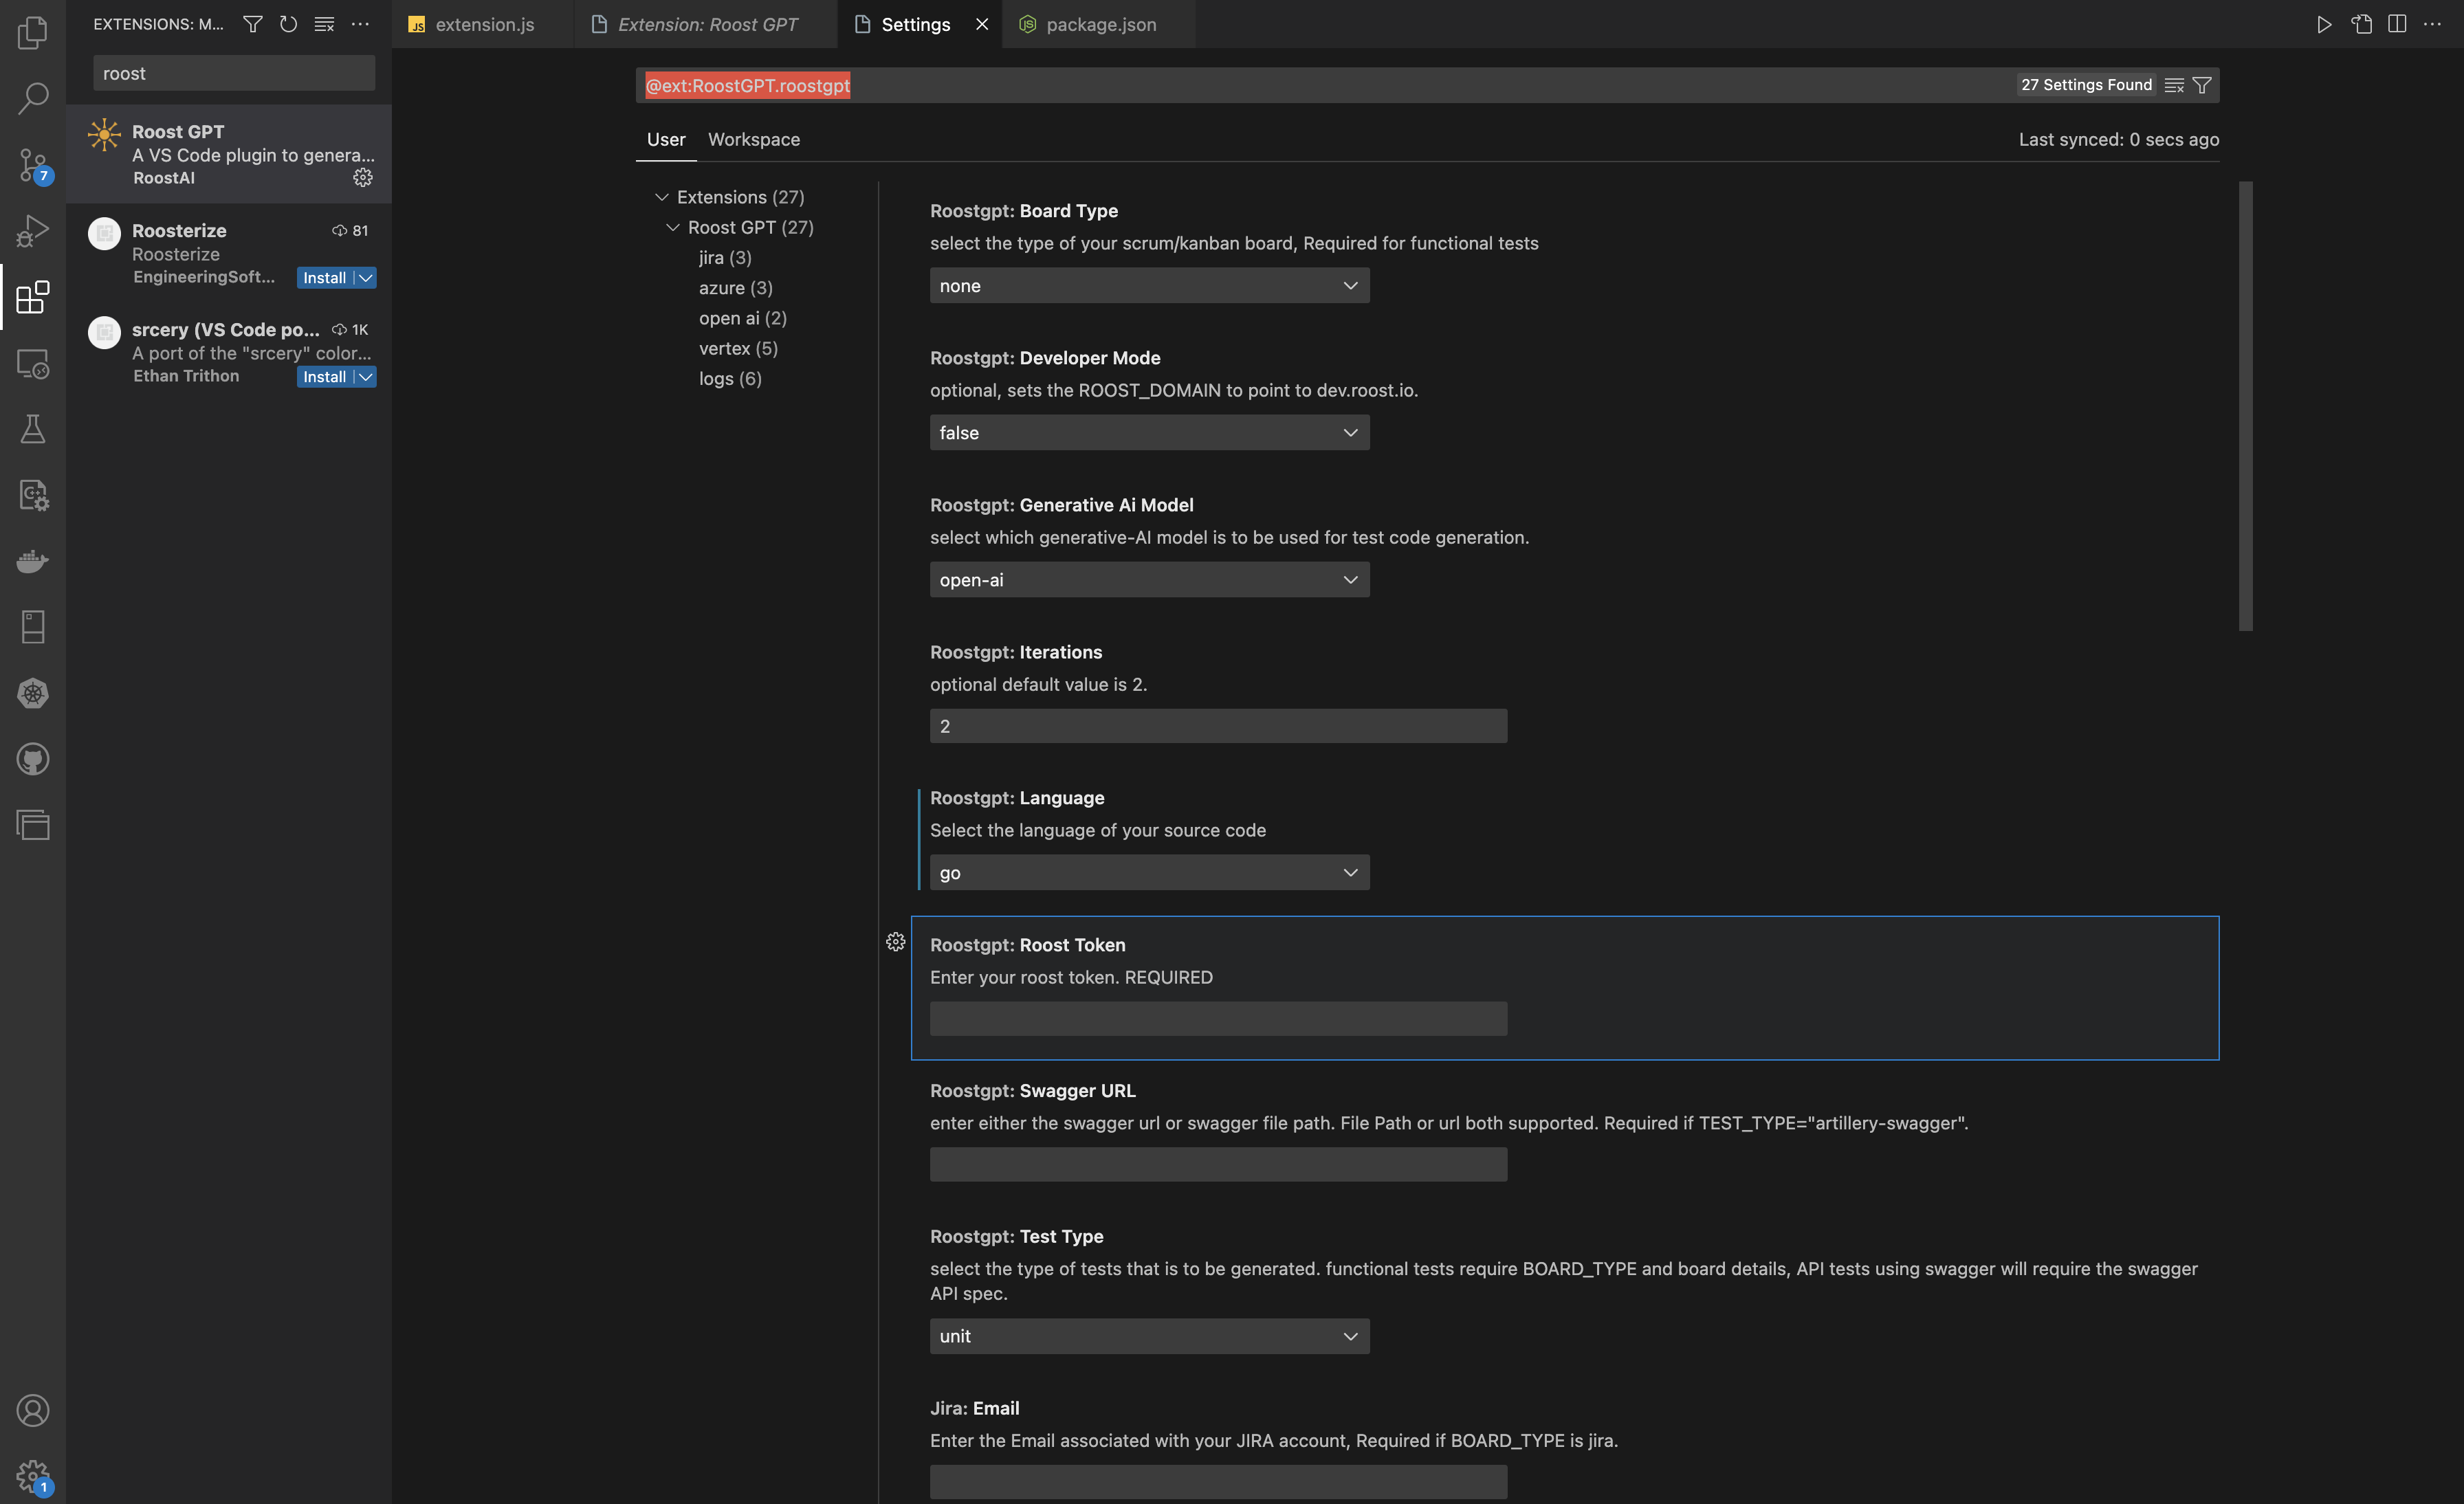
Oncethen set up the extensionrequired settingsvalues areaccording open,to Youyour workspace and needs. you will need to provide yourthese required fields:
- Roost
Token,Token: you can get yourRoostroost token fromthemy profilesectionpage.afterIfloggingyouintoapp.roost.ai
Don'don't have a Roost token, you can sign up for a free trial and try out RoostGPT for free, using your organization email from here. - Generative AI model: Select which model to use for test code generation, which supports OpenAI and Google Vertex.
- Language: Select the
extension with other required values according tolanguage yourworkspaceworkspace/source code is written in, currently supports Java, Python, Go, NodeJS, andwhatC#. - OpenAI
ofAPItests you want to generate, be sure to select the appropriate language, test type, and AI model, andKey: provideyour token for the AI model as well(your OpenAI APItokenkeyorif you plan on using an OpenAI generative AI model to generate yourvertextestbearercases. - Vertex Bearer Token, Project ID, and Region: These details are required if you plan on using Google Vertex generative AI model to generate your test cases.
provide
If you provide an iteration value greater than 0 then it will run the thegenerated test casecases and pass the error that occurred(if any) to the ai model then update the test case inside the same file and run again till the number of times of iteration and stop if it ran successfully in between.
Test Generation:
NOTEOnce thatyour someextension valuesconfiguration suchis ascomplete, JIRA/Azureyou boardcan detailsthen start using the VS Code extension to generate tests for your workspace. The test types supported are requiredUnit, ifAPI using Swagger, API using Postman, Functional, and Integration. To generate tests, simply right-click on a file in your Explorer menu and select the type of test you want to generate from the context menu that shows up. Note that each test type has some requirements to start test generation.
- Unit tests: To generate Unit tests, just simply select the root directory your file is present in, if you right-click on a file and select unit test generation, it will generate unit tests for all the files present in that file's parent directory.
- Functional tests: To generate functional tests, you also need to
setselecttheyour board type to be either JIRA or Azure and provide theappropriatedetailsvaluefor the selected board, such aswell.JiraSimilarly,Email,IfJirayouToken,wantandartilleryJiratestsHostusing Swagger, then the swagger URL is required.Test Generation:After you have set the configuration values correctlyName foryourJira.workspace,NOTEyouthat Board type details areready to generate tests using Roost GPT,required in order to generate functional tests. - API tests
forUsingyourSwagger:currentToworkspace,generatejustAPIsimplytestsgousingintoSwagger,theyouexplorerneedbadge andto right-click ontheyourdirectory/folderSwagger.jsonyouAPIwantspectofilegenerateand then select thetestsGeneratefor and select "GenerateAPI tests usingRoostGPT."SwaggerThisoption. If you choose any file other than your API spec file, the test generation willgeneratefail. - API tests
forusingthePostman:filesTopresentgenerateinAPIthetestsselectedusingworkspacePostman,directoryyouaccordingneed tothe extension configuration.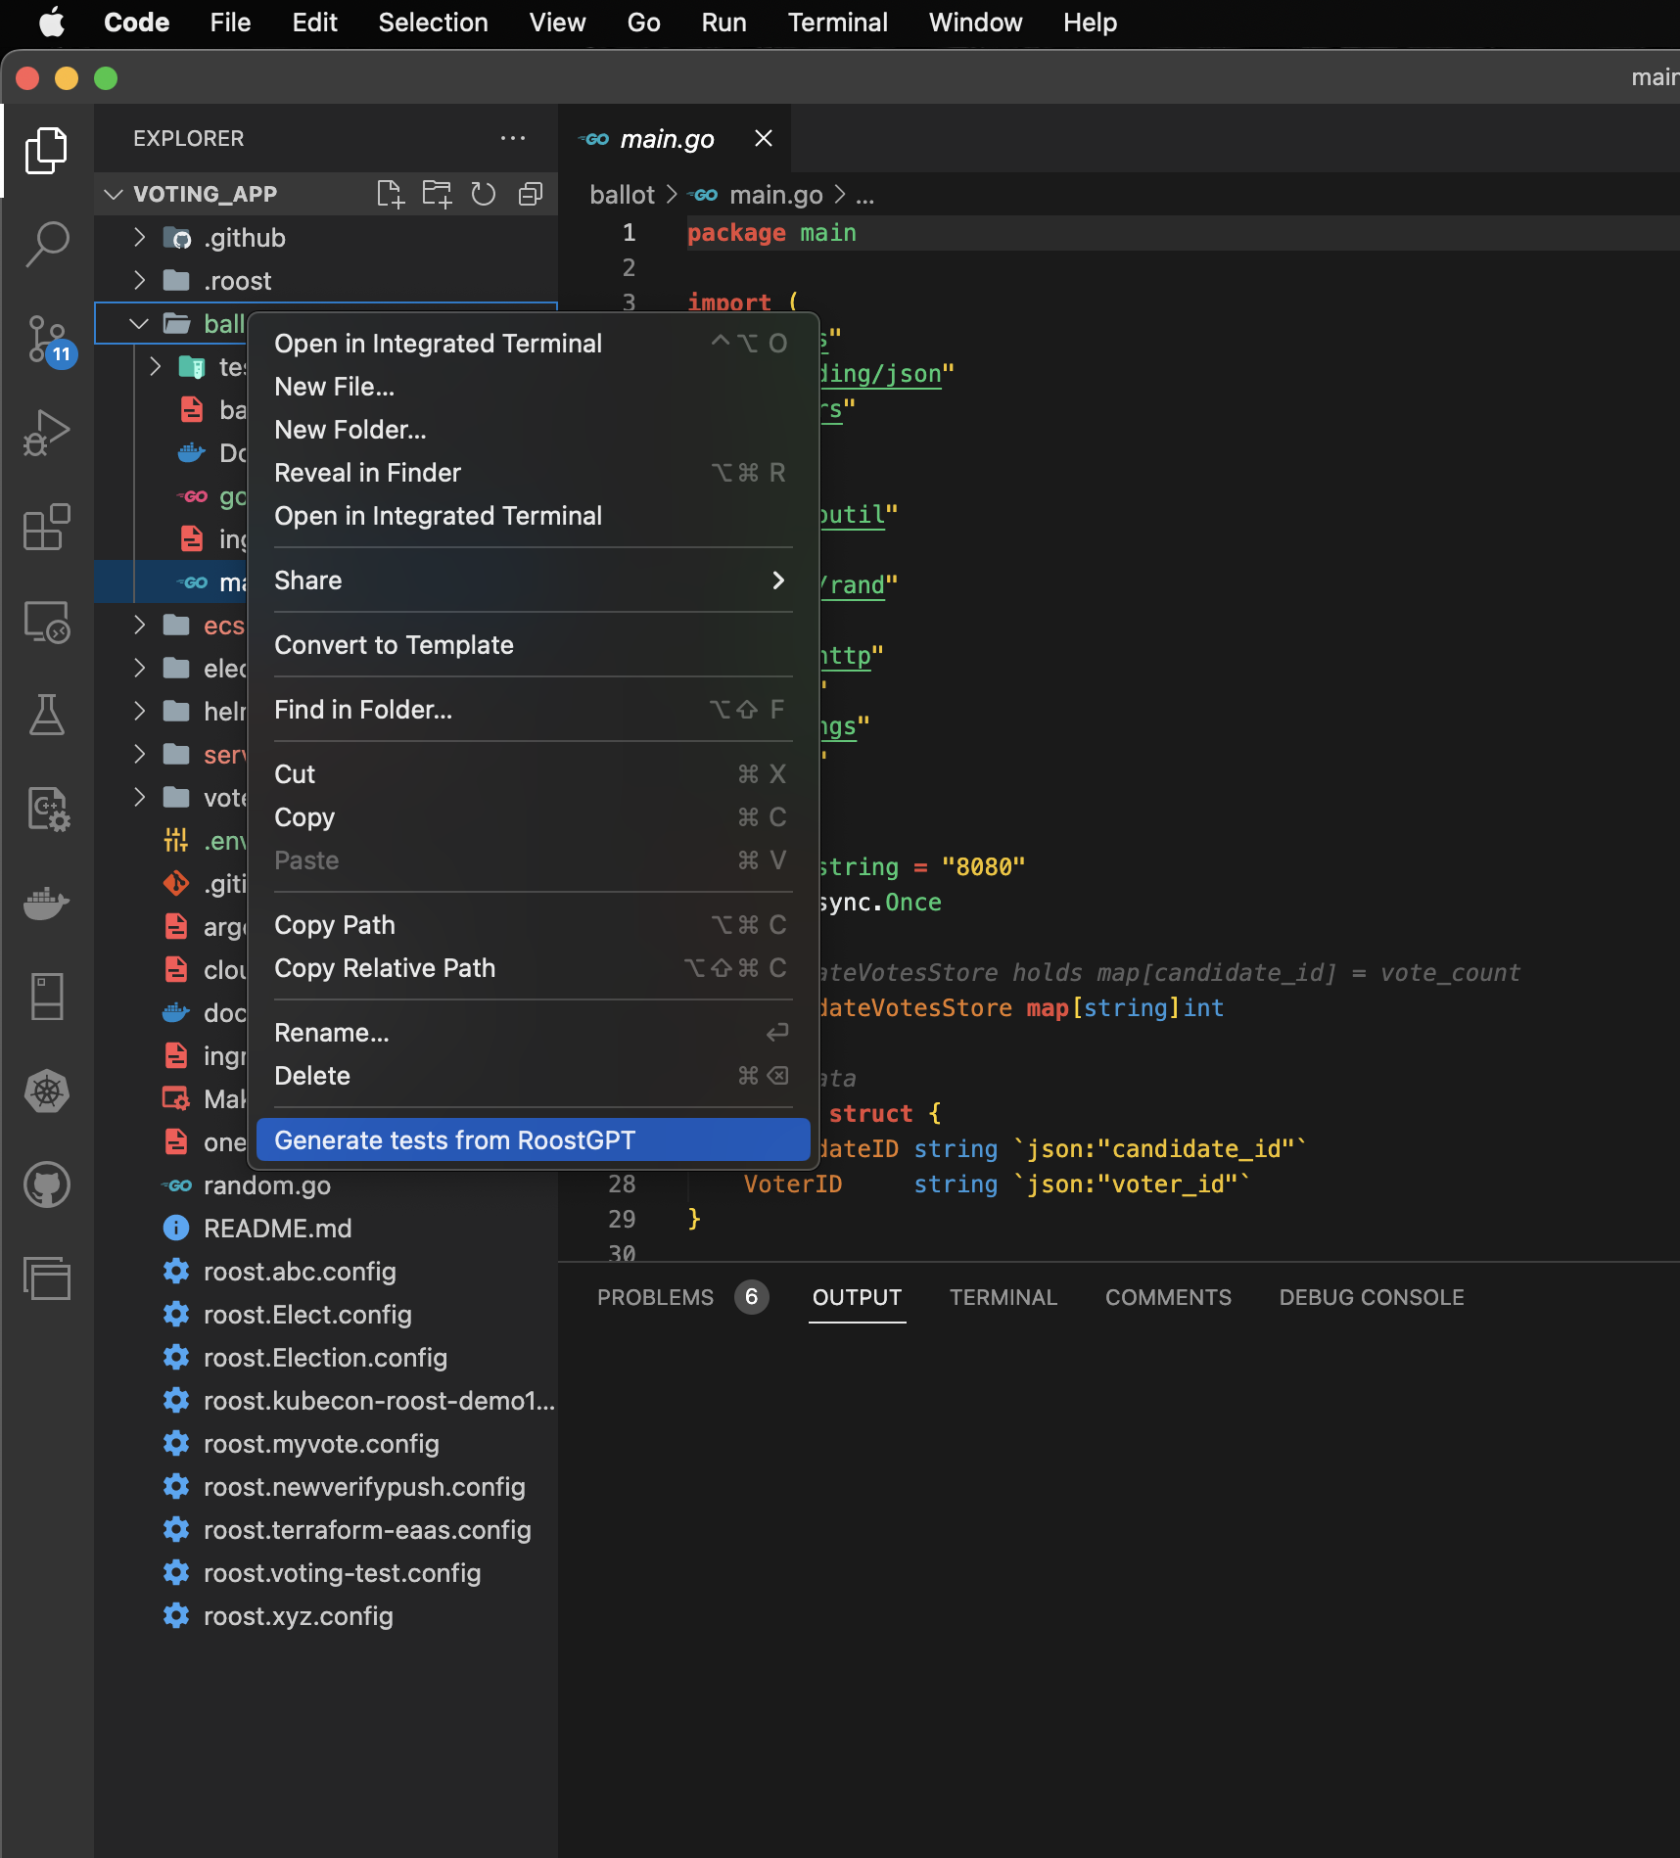
Note: if youright-click onayour Postman YAML API spec fileinsteadand then select the Generate API tests using Postman option. If you choose any file other than your API spec file, the test generation will fail. - Integration tests: When generating Integration tests, you need to right-click on your API spec file and then select the Integration tests option, if you choose any file other than your API spec file, the test generation will fail, after selecting the option, a popup will open, asking you to provide the type of
ayourdirectorygherkin template, you can either select file andgeneratebrowse to your gherkin template file or you can choose URL and provide thetests,URLRoostGPTtowillyourgenerateGherkinteststemplate.
