
Bitbucket Cloud Webhook
1. Navigate to your Bitbucket repo.
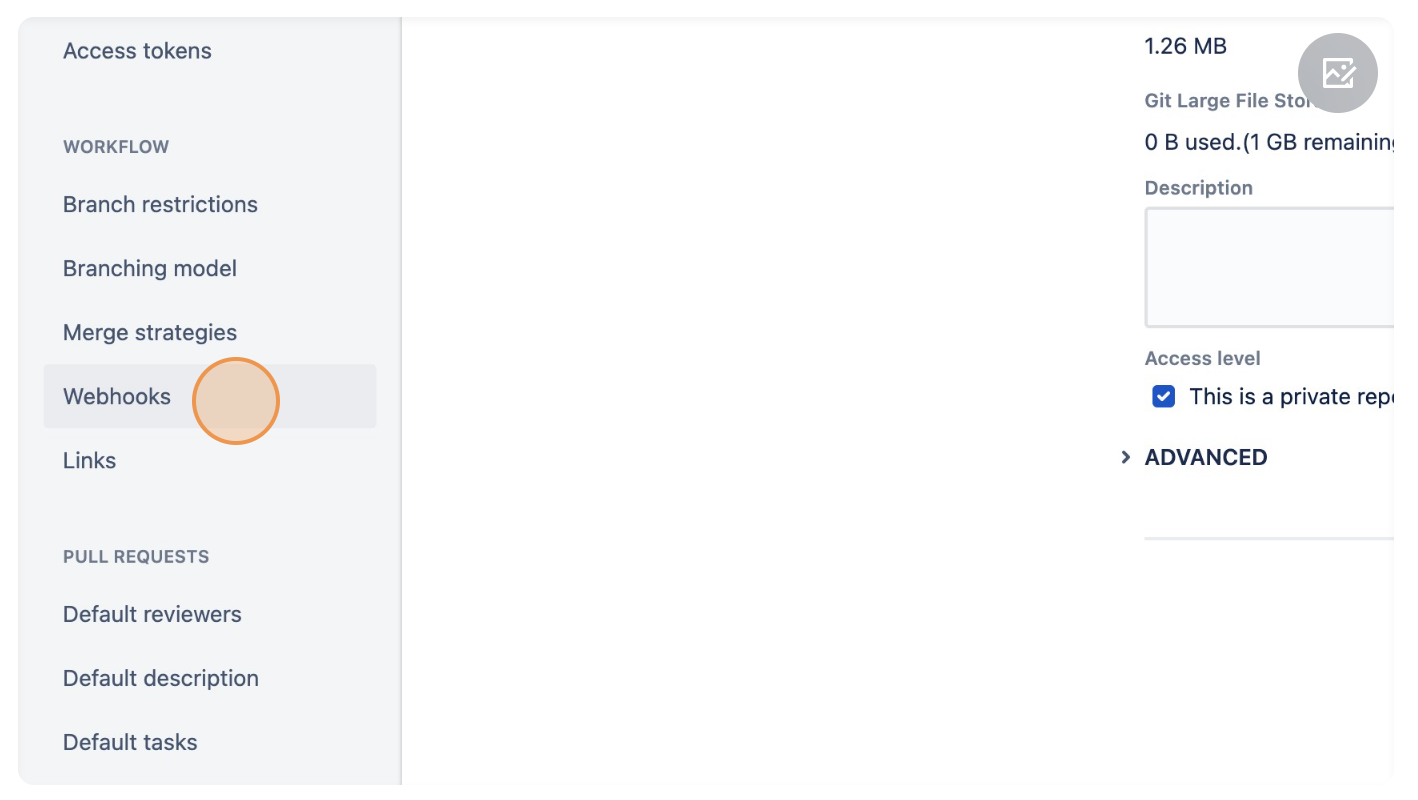
2. On left sidebar click on "Repository Settings".

3. On left sidebar click on "Webhooks".
4. Click "Add webhook".

5. In the Title add a name for the webhook.

6. In the URL add "https://<enterprise-dns>/api/application/client/git/events/add".

7. Go to Trigger section and select "Created", "Updated", "Merged", "Declined" and "Push".

8.Click "Save".
