Multiple Test Flow
This guide walks through RoostGPT's complete four-phase testing pipeline — from a Jira business requirement to a full test suite covering Functional, Unit, API and integration tests.
The Framework
RoostGPT establishes complete traceability from business requirements to code-level tests. Each phase builds on the previous:
Jira User Story
      │
      ▼
Phase 1: Functional Tests  → Gherkin .feature + API Spec
      │
      ▼
Phase 2: Unit Tests         → Source code (TDD) → Unit test files
      │
      ▼
Phase 3: API Tests          → API Spec → Postman / Karate / Rest Assured
      │
      ▼
Phase 4: Integration Tests  → API Spec + Gherkin → End-to-end test suite
Key principle: Every generated test traces back to the original Jira business requirement.
Phase 1: Functional Test Creation
Start from a Jira ticket (e.g., a credit card lifecycle user story).
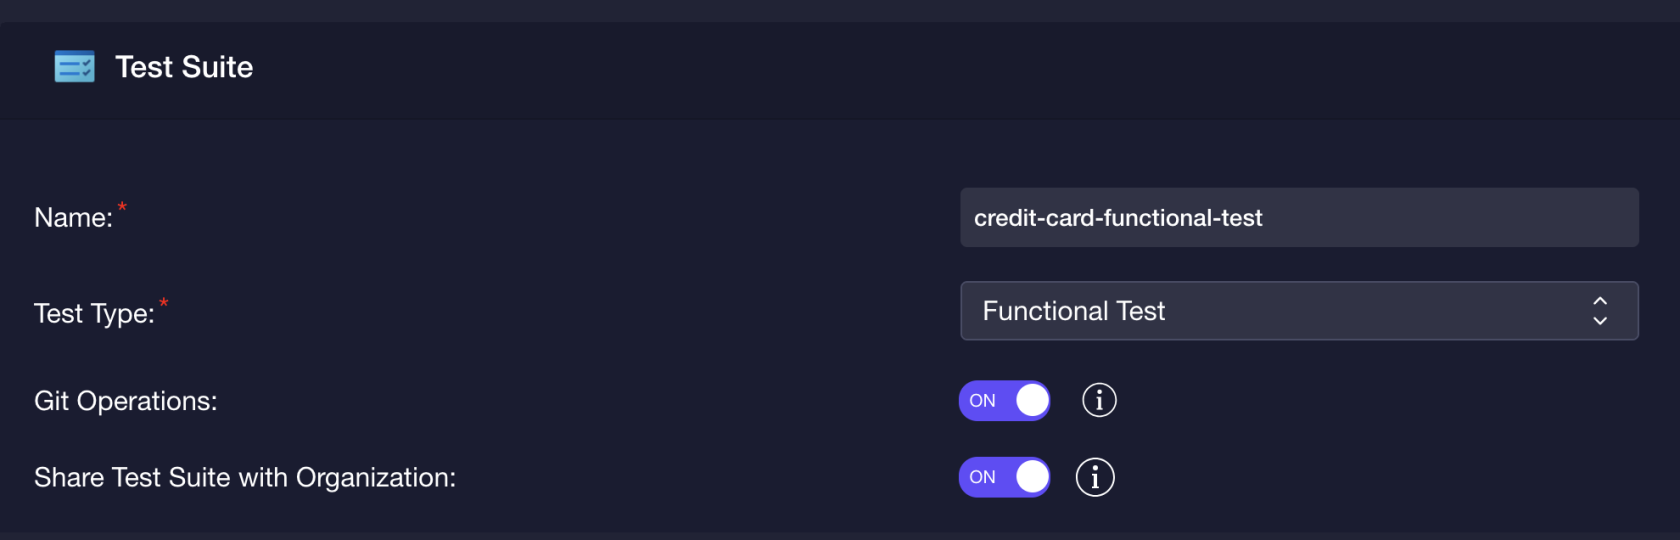
Setup via Web UI
Test Suite Configuration:
- Test Name: descriptive name (e.g.,
CreditCardLifecycle) - Test Type: Functional
- Test Framework: choose from Rest Assured, Karate, or Postman
AI Provider:
- Select provider (OpenAI, Google Gemini, Azure OpenAI, Claude, AWS Bedrock, etc.)
- Enter API Key and Model Name, or choose a saved connector
Git Repository:
- Select provider (GitHub, GitLab, Bitbucket, Azure Repos)
- Enter access token, branch, and project path
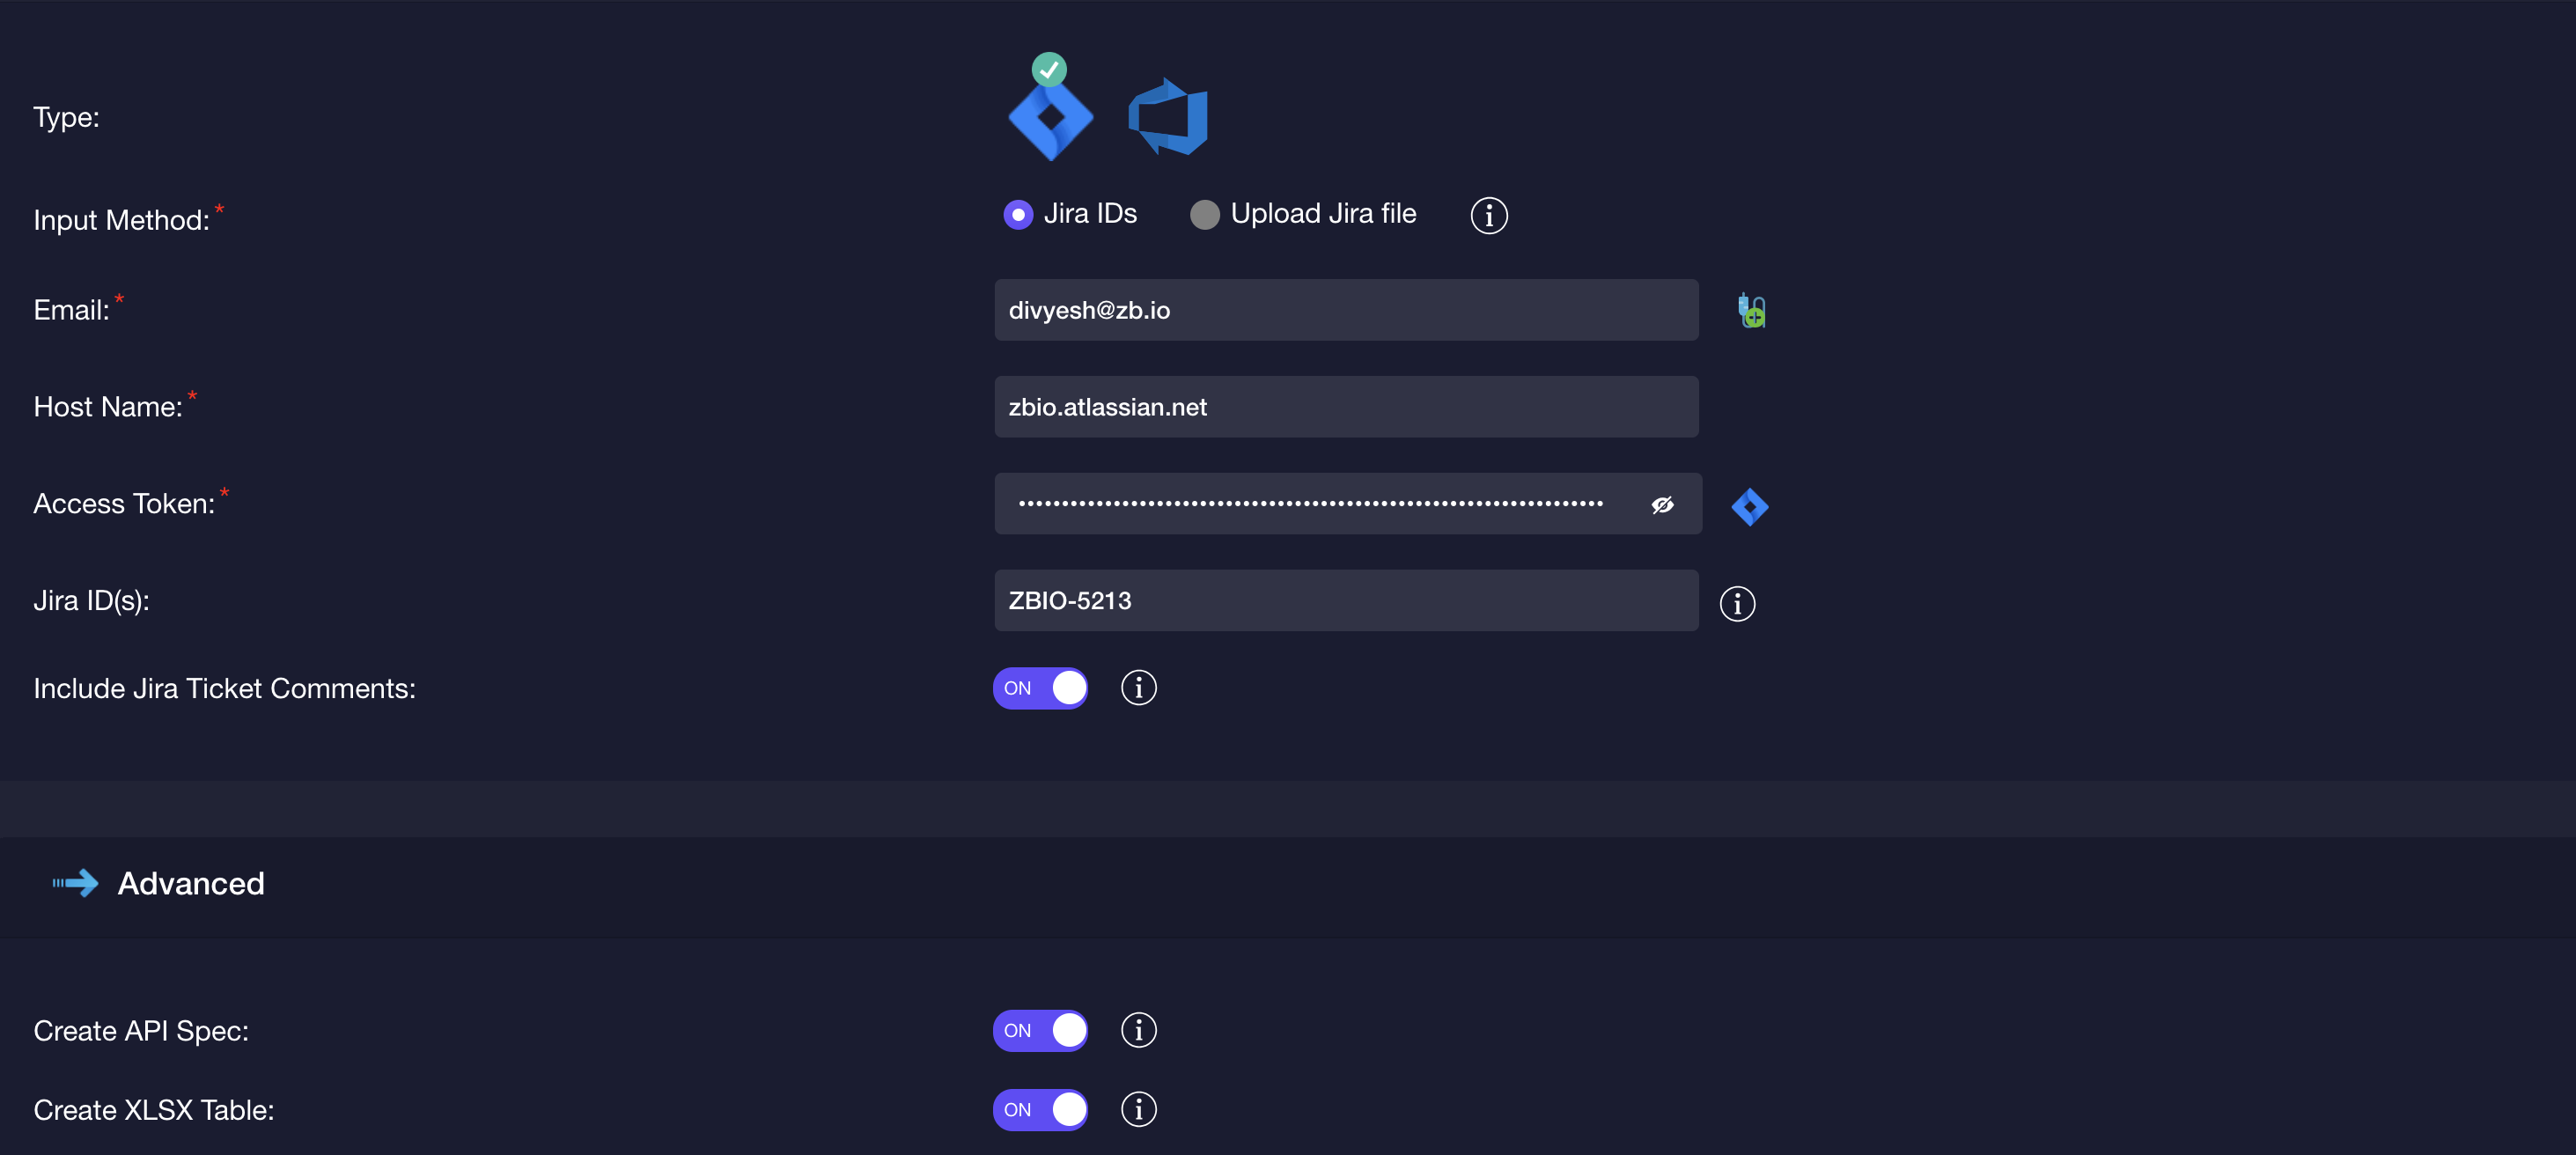
Business Requirement Source:
- Jira: Base URL + email + API token + ticket ID
- Azure DevOps: Org URL + PAT + work item ID
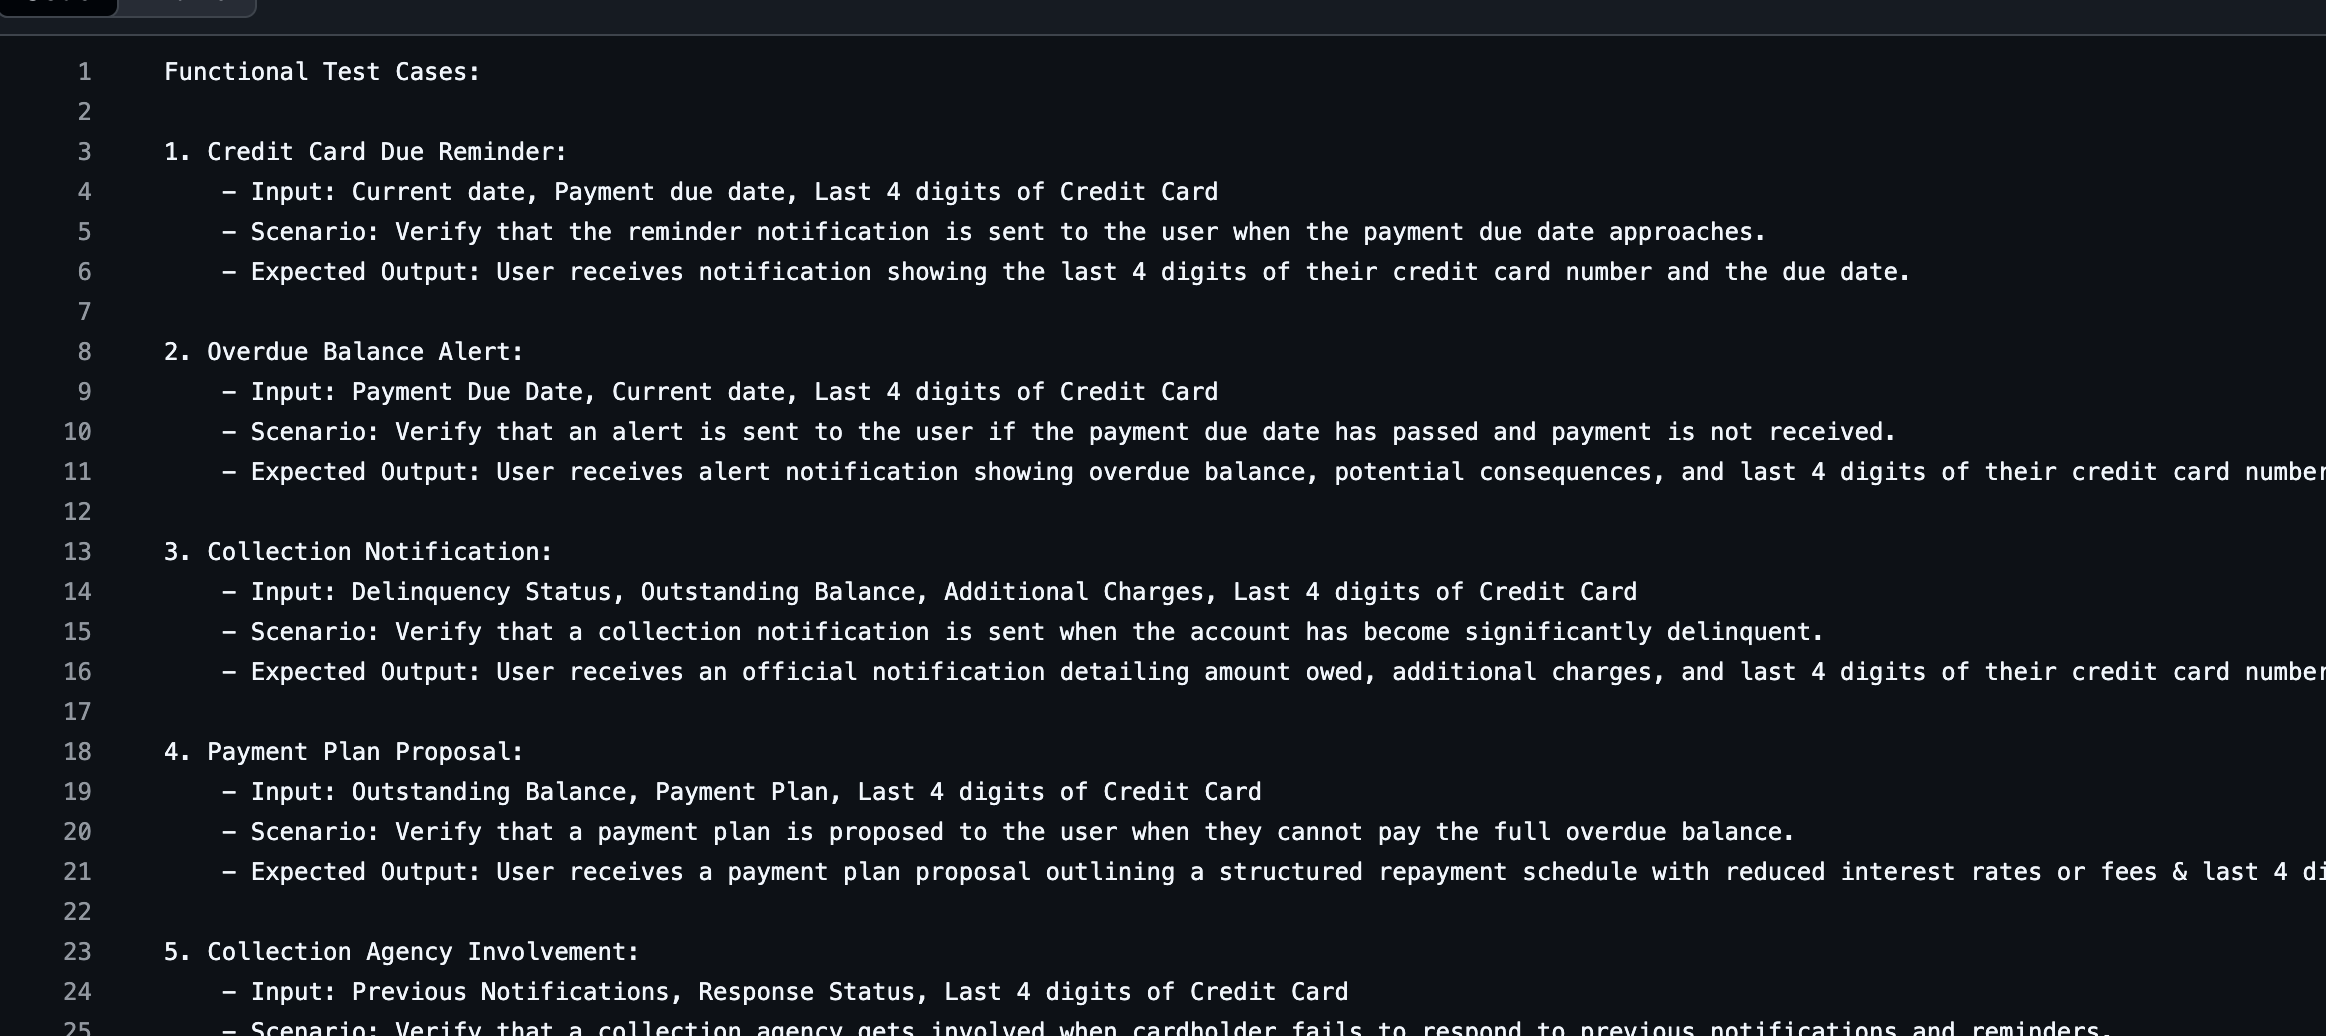
Generated Artifacts
RoostGPT produces three outputs from the Jira ticket:
- Functional Test Scenarios — structured test cases from business requirements
- Gherkin Feature File — BDD
.featurefile for integration tests - API Specification — OpenAPI spec defining the service contracts
Phase 2: Unit Test Generation (TDD)
Using the functional tests as requirements, implement the source code and generate unit tests.
Generate Source Code Scaffold
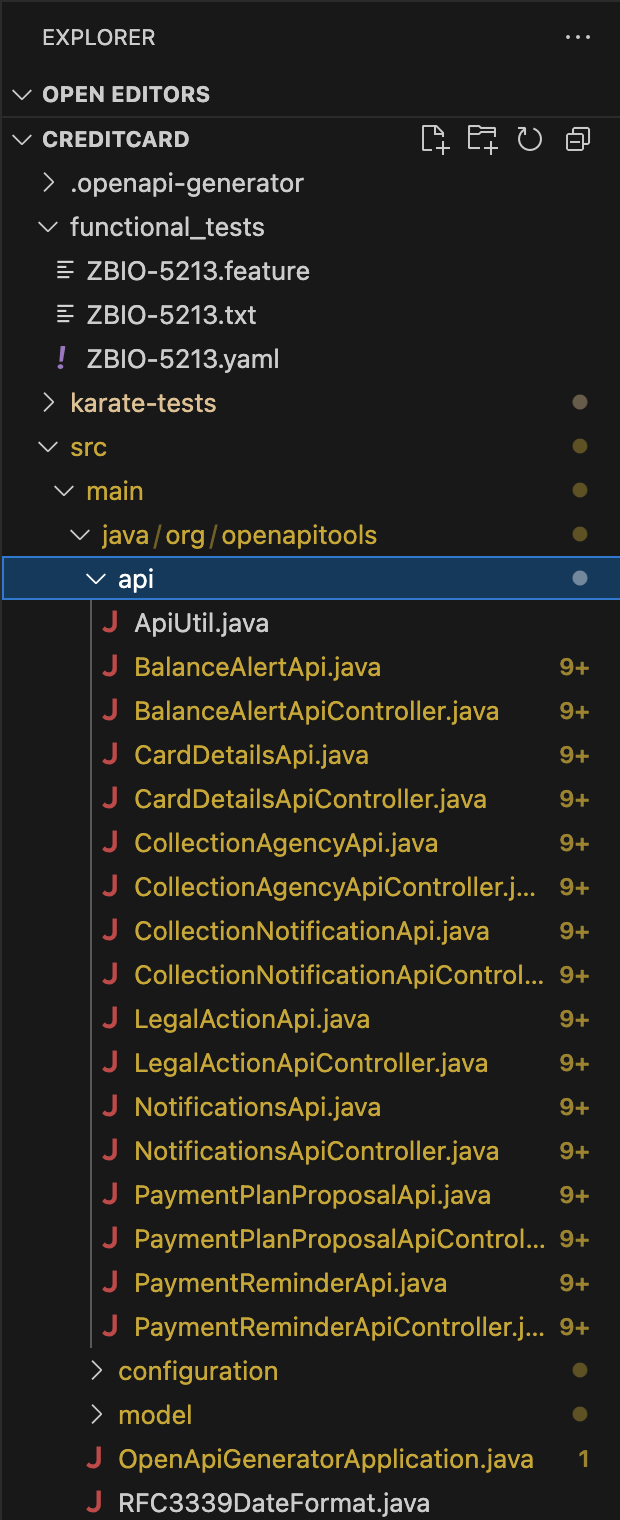
Use the generated API spec with OpenAPI Generator to scaffold the initial code:
openapi-generator generate \
  -i functional_tests/ZBIO-5213.yaml \
  -g spring \
  -o . \
  --additional-properties=javaVersion=1.8
Generate Unit Tests via VS Code
Right-click on your source file → "Generate Test using RoostGPT":
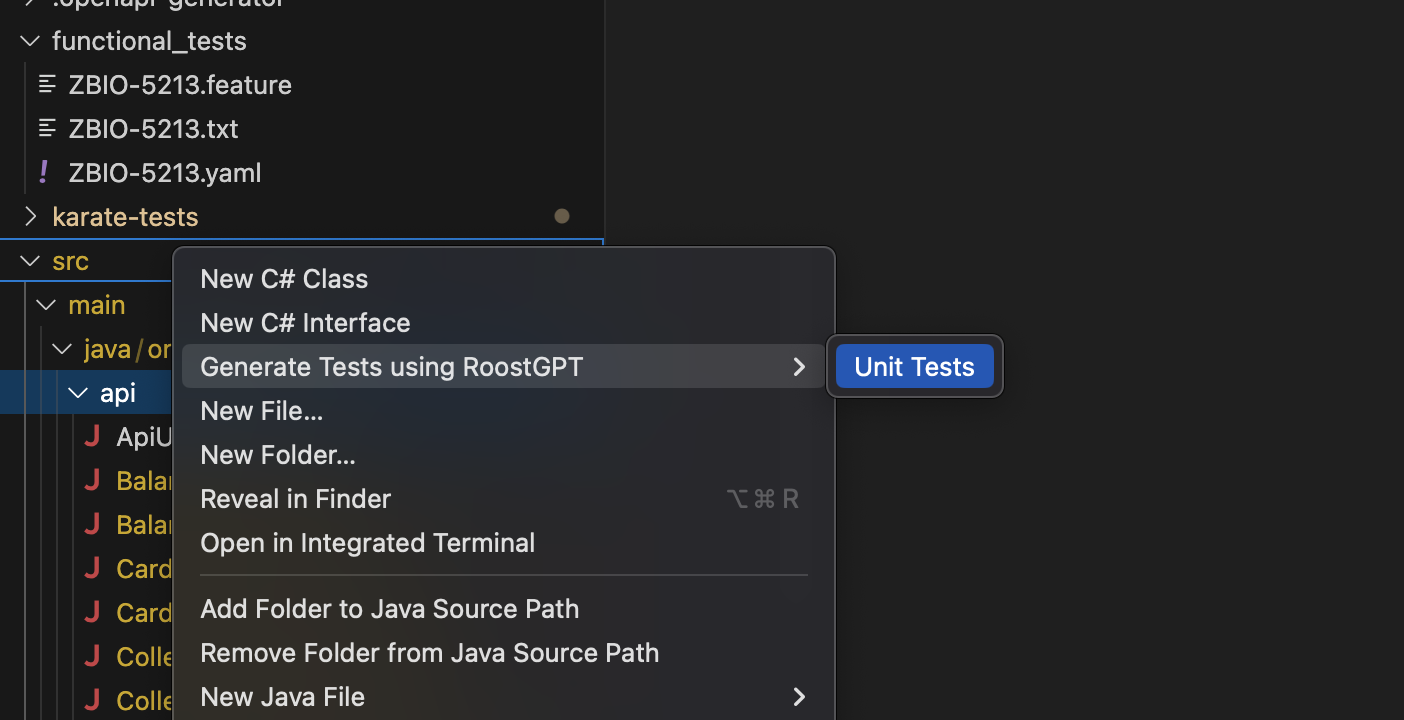
Or use the code lens buttons above any Package, Class, or Function declaration:
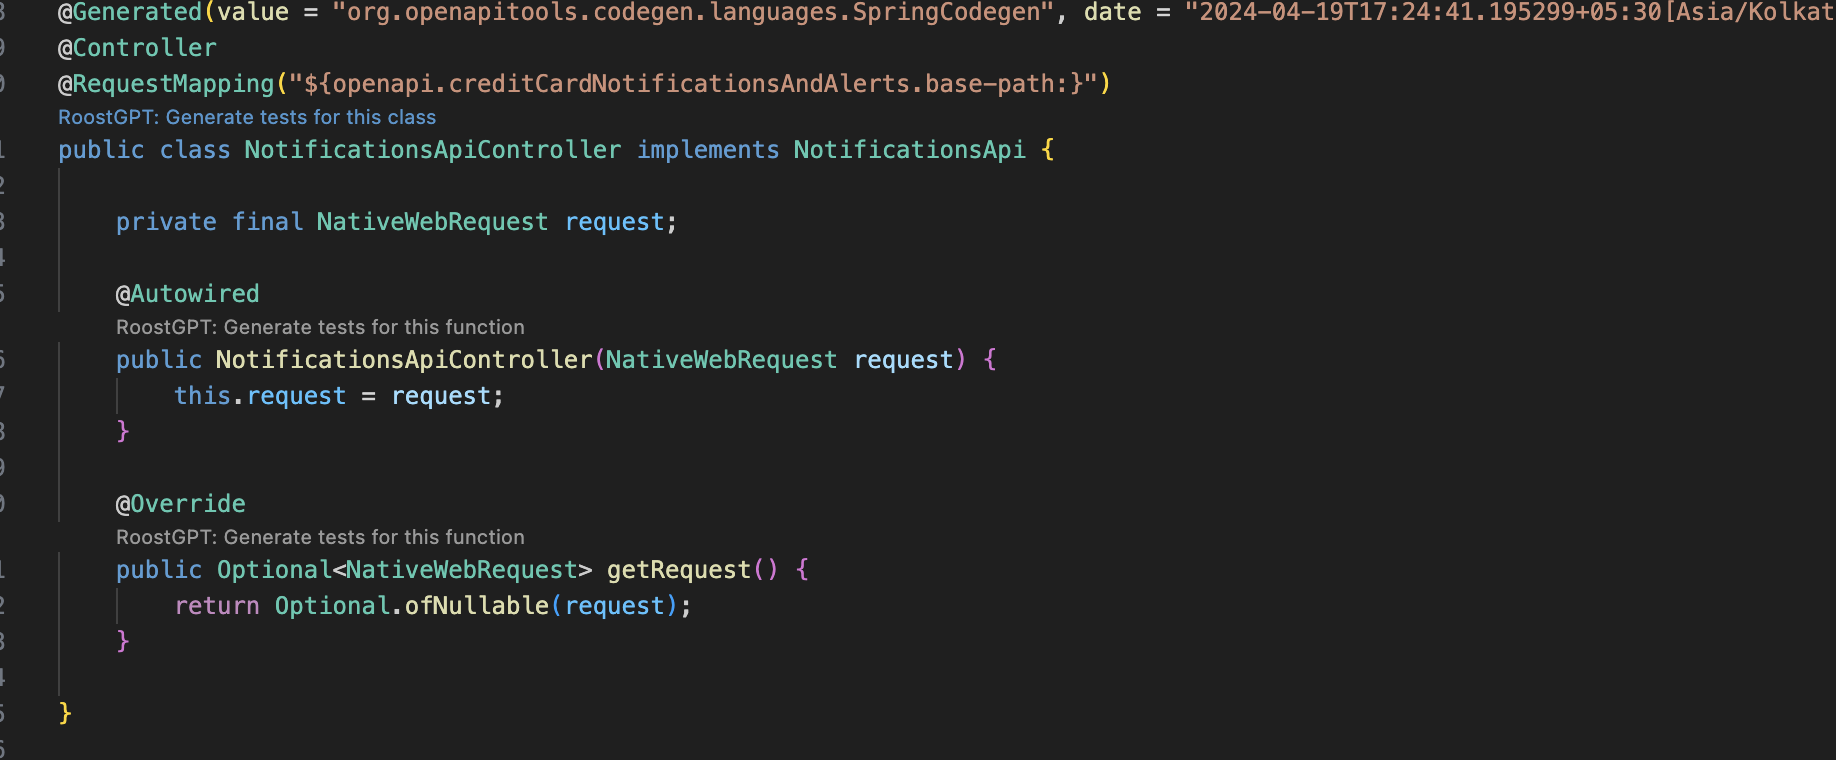
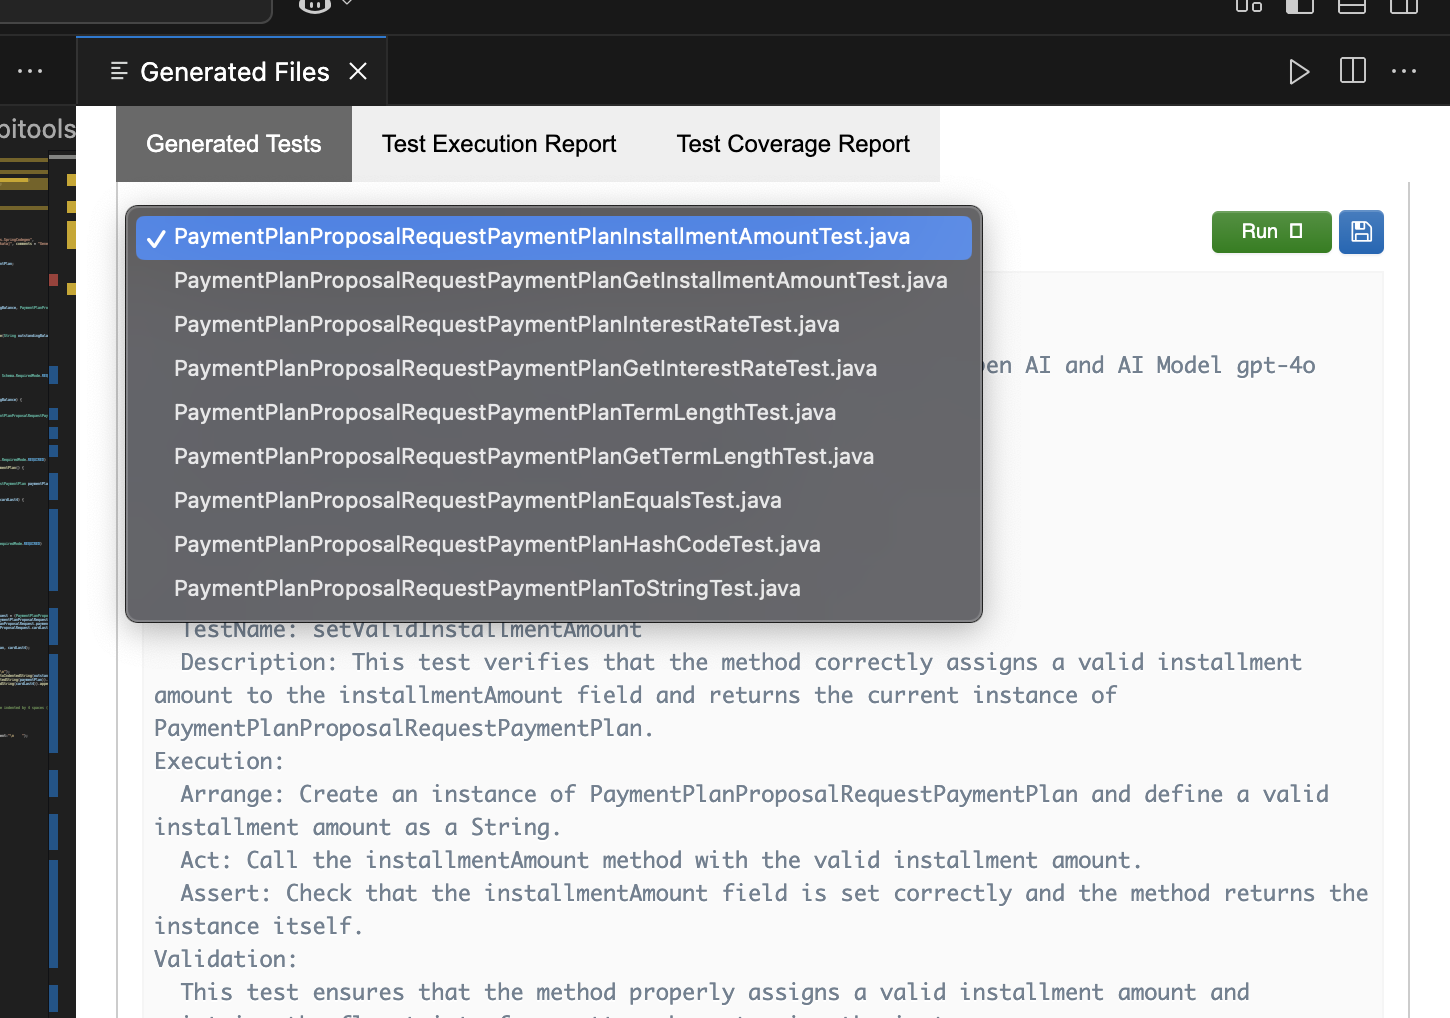
RoostGPT places tests in your standard test folder preserving package structure, and automatically adds dependencies to pom.xml.
Automatic Error Resolution
If tests fail to compile, RoostGPT iterates automatically. After max retries, files are renamed .java.invalid for manual review.

Improve Tests
Use the improvement sidebar to refine with natural language:
"Add negative test for invalid payment ID"
Phase 3: API Test Generation
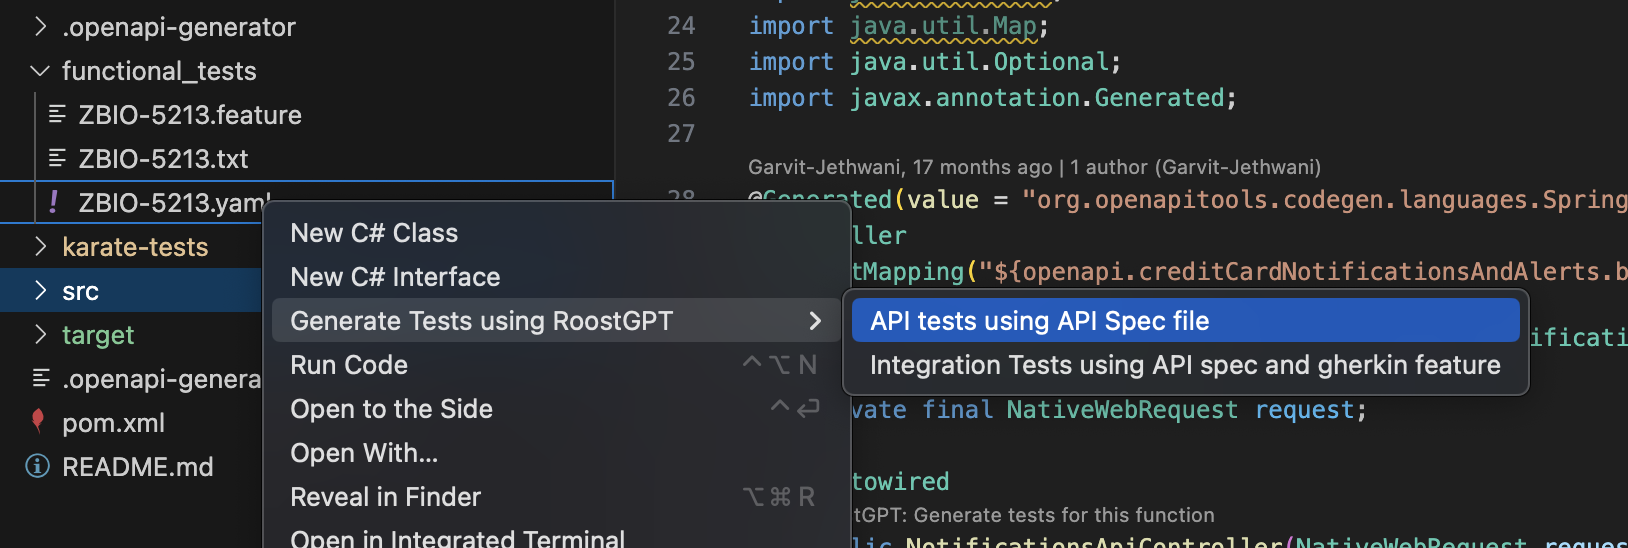
Use the API spec from Phase 1 to generate API tests.
In VS Code, right-click on the Swagger spec → "Generate Test using RoostGPT" → "API tests using API Spec file":
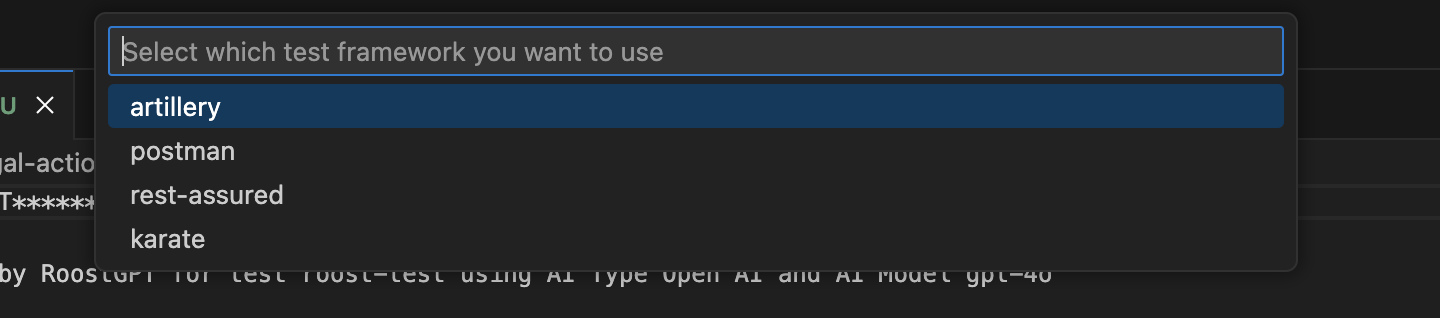
Select your output framework (Karate, Postman, Rest Assured):
Server configuration:
- Provide a live server URL for real API validation
- Skip to use an auto-provisioned Prism mock server
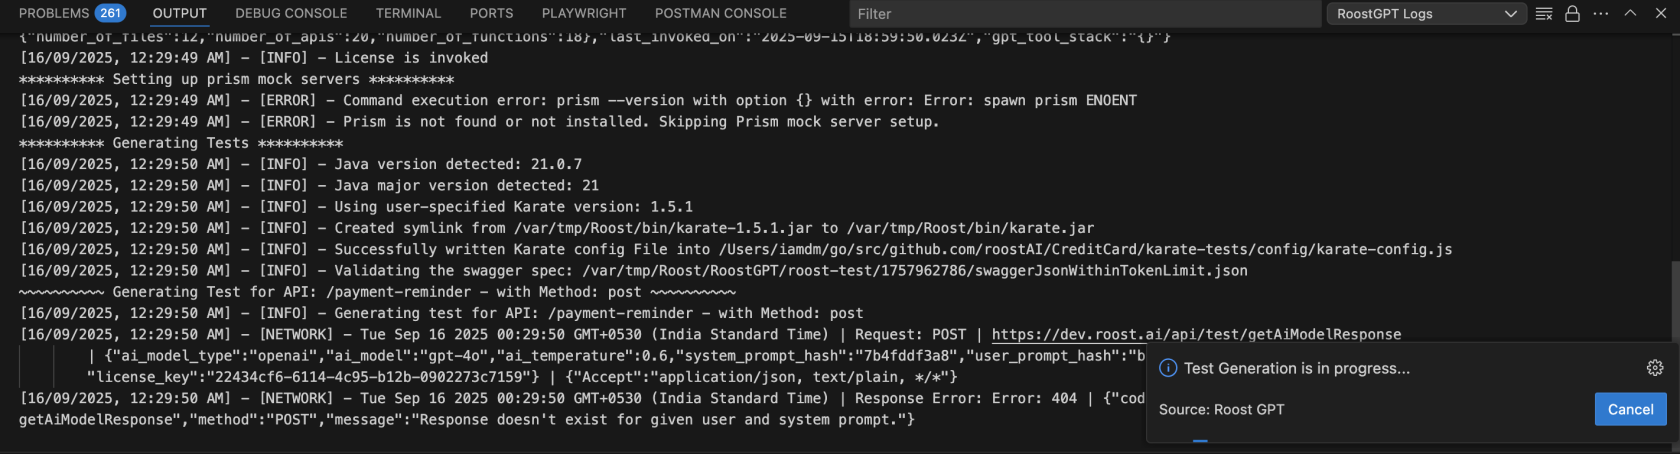
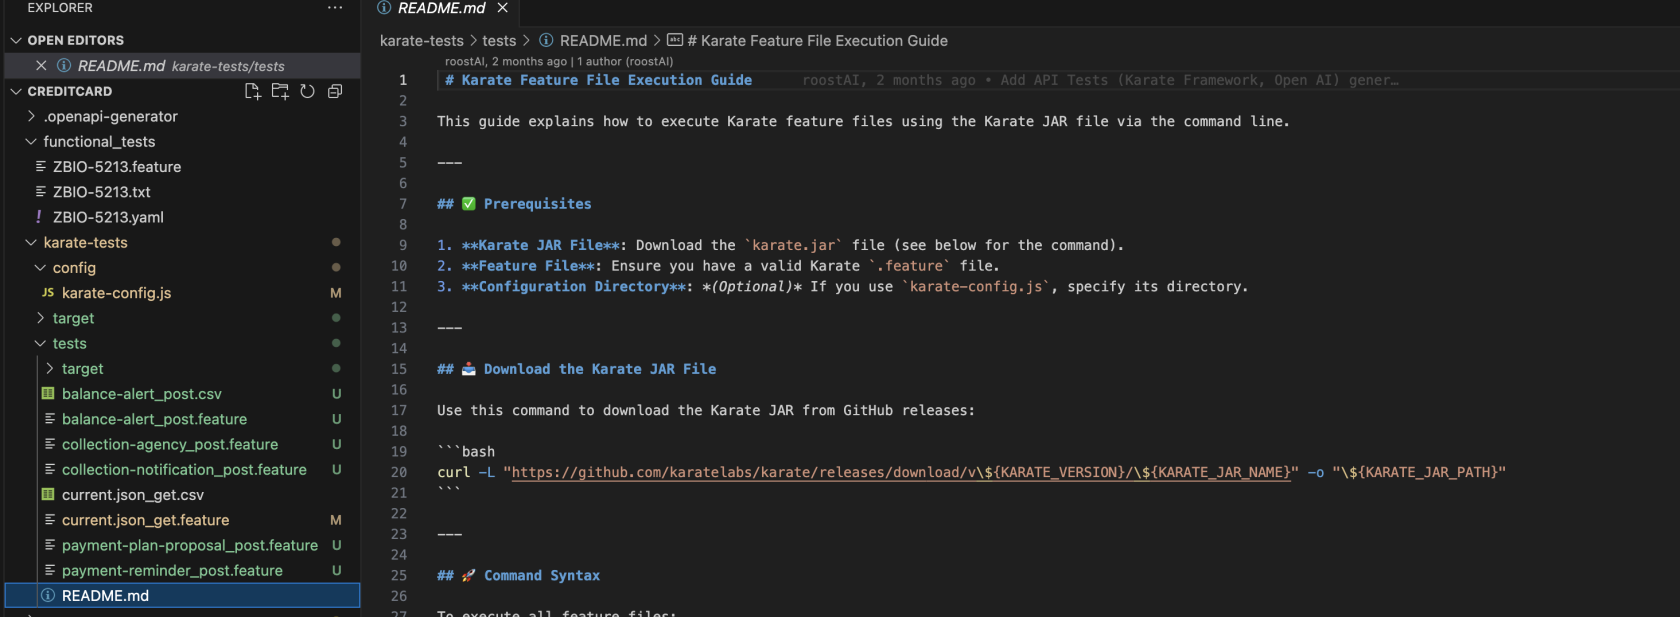
RoostGPT generates Karate feature files with CSV test data for each endpoint:
Phase 4: Integration Test Generation
Combine the API spec and Gherkin feature file from Phase 1 to produce end-to-end integration tests.
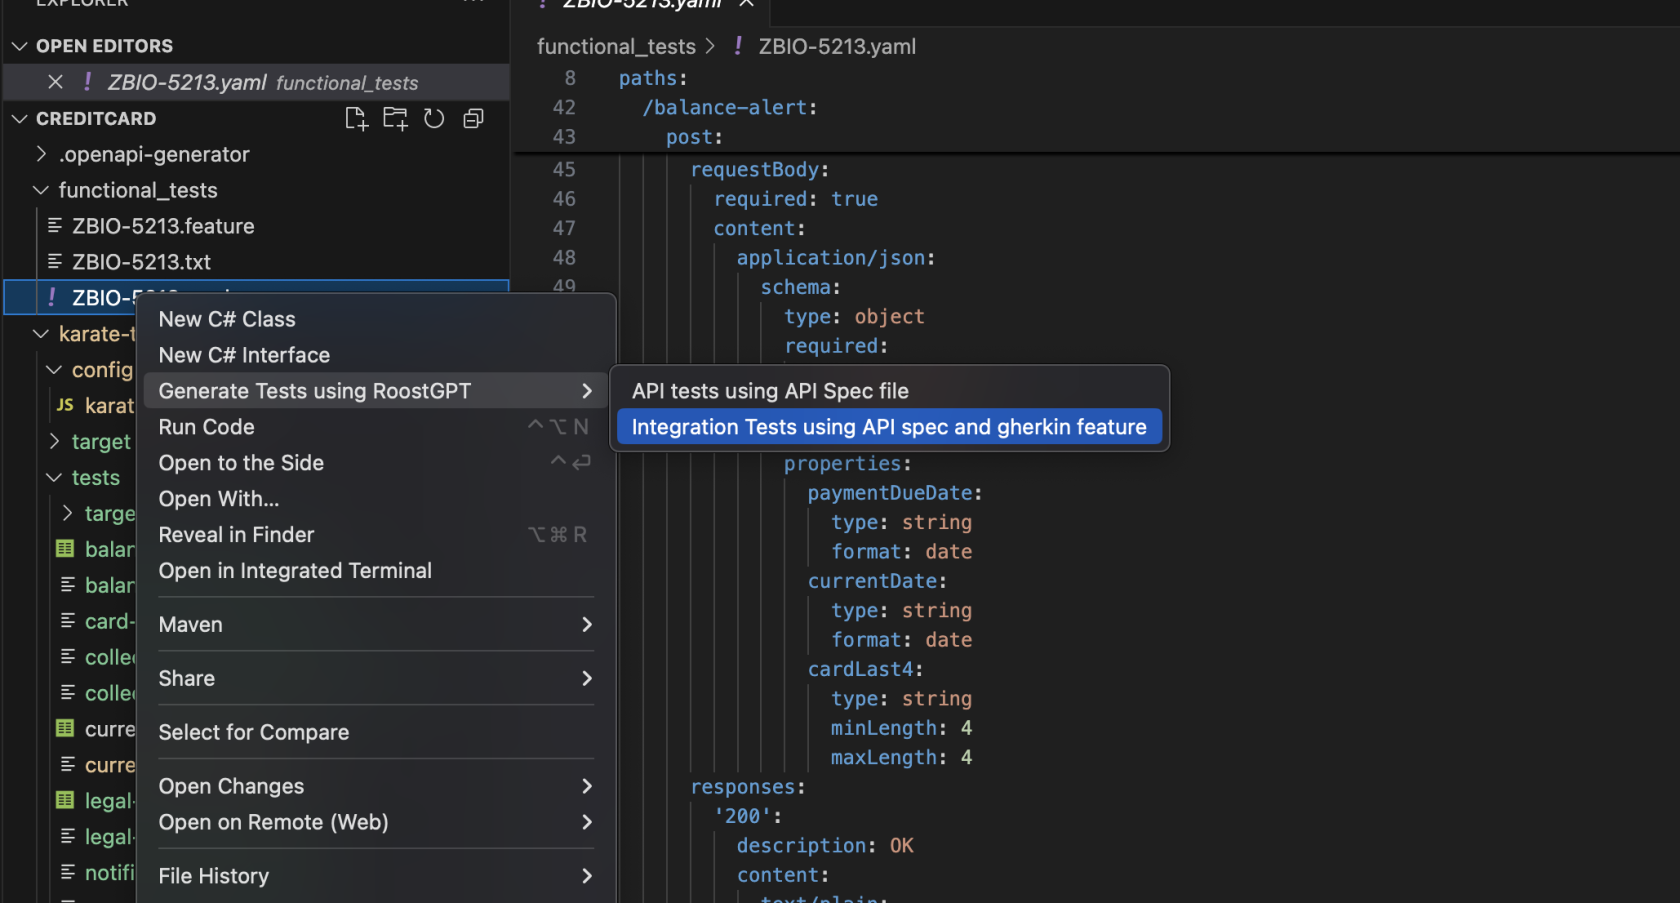
In VS Code, right-click on the Swagger spec → "Generate Test using RoostGPT" → "Integration Test using API spec and gherkin feature":
Browse to and select the Gherkin feature file from Phase 1:
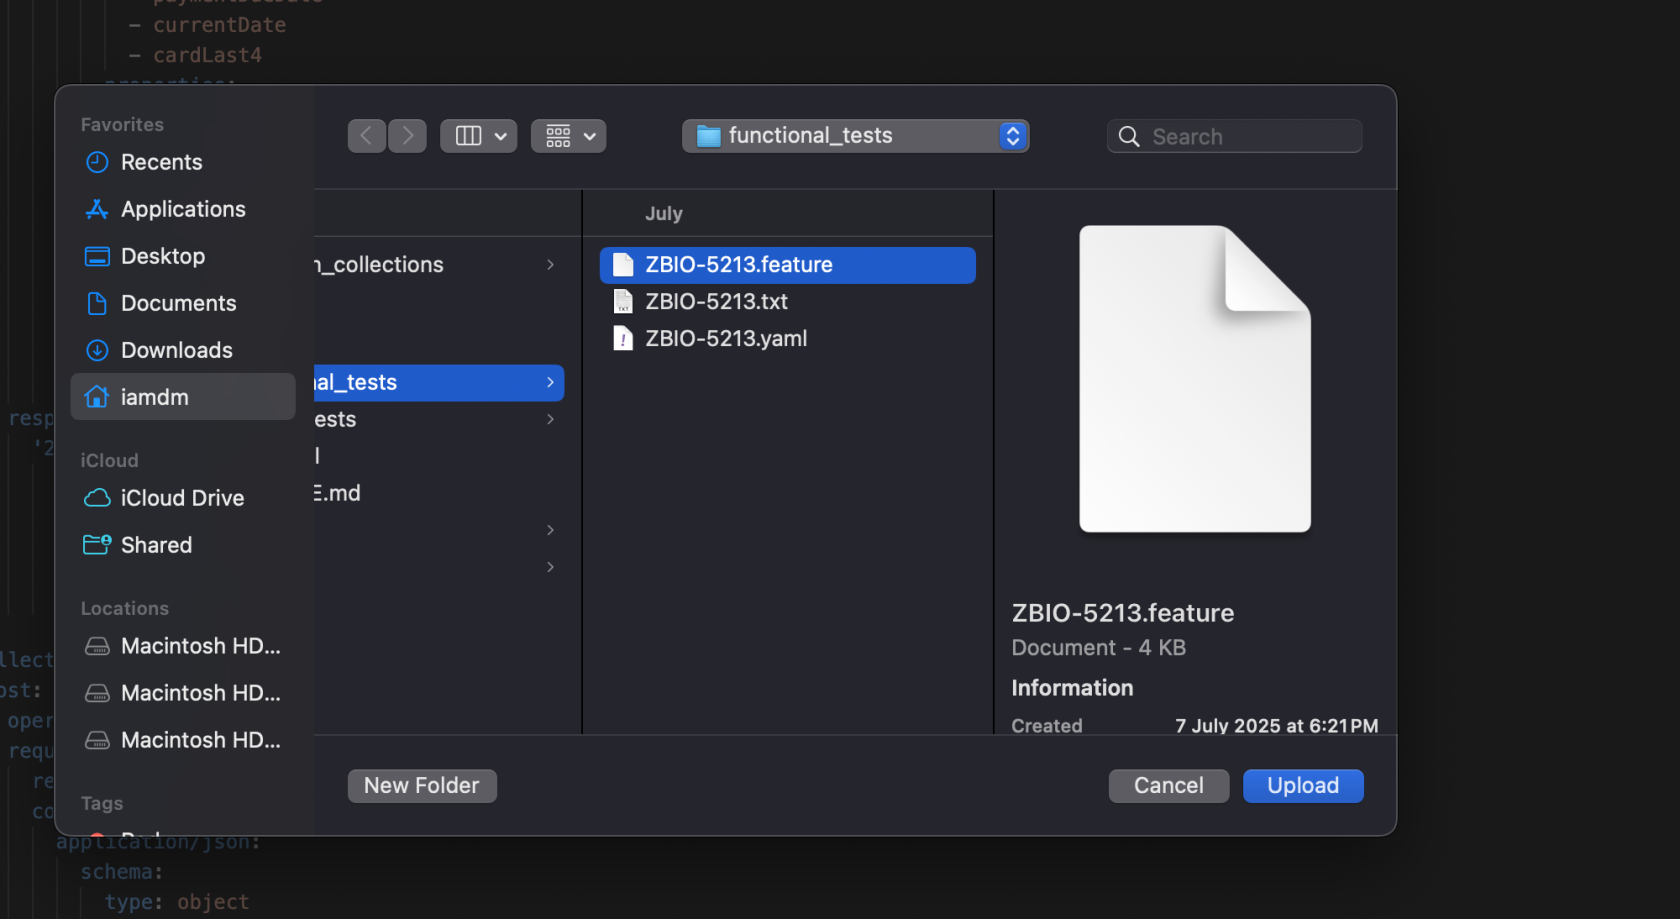
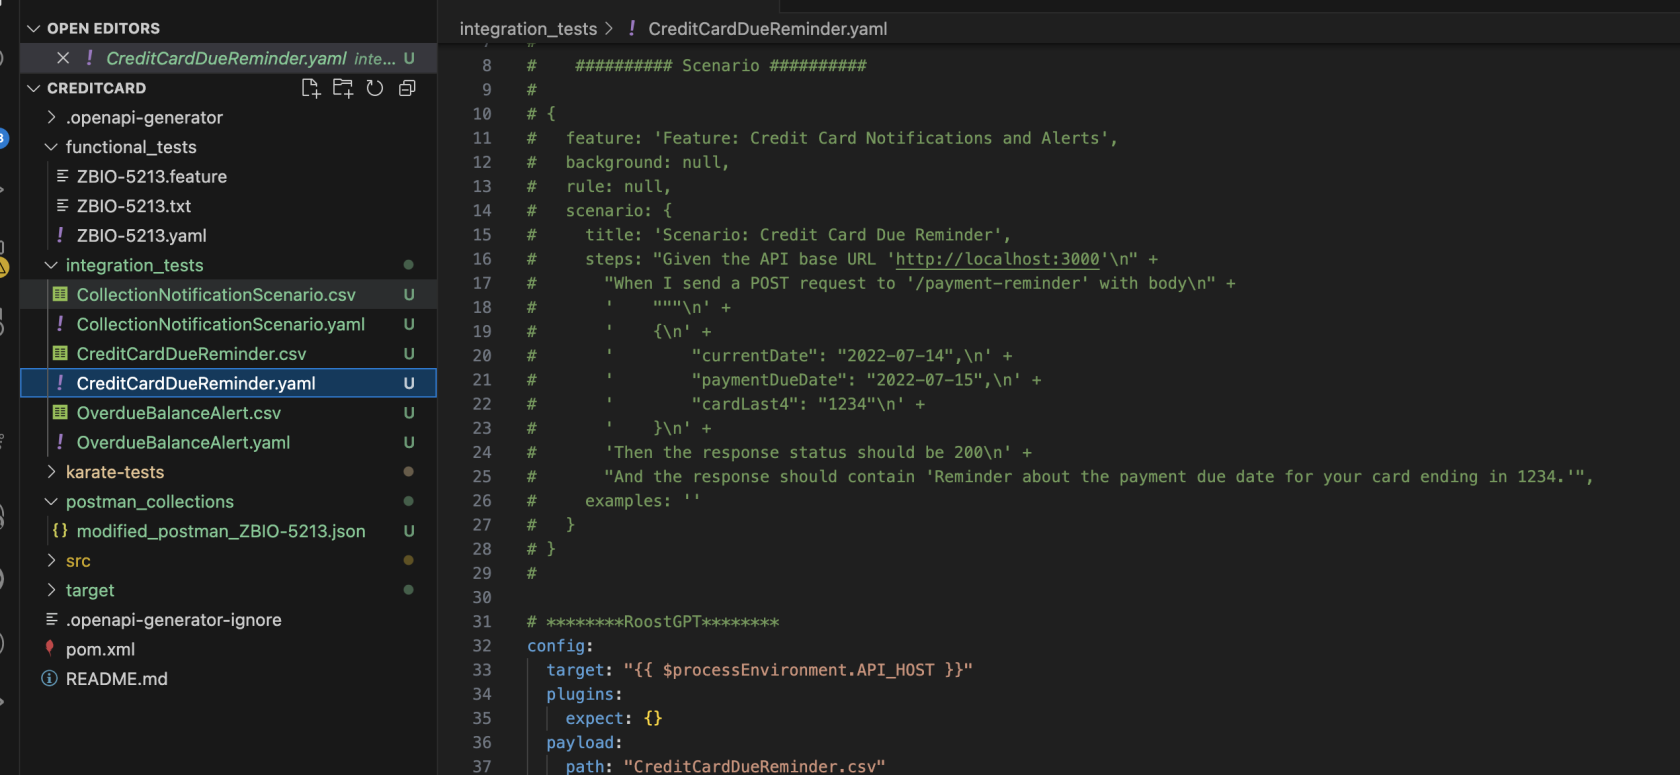
RoostGPT parses each scenario and generates separate test files and CSV data files:
Summary
After completing all four phases, you have:
| ✅ | Test Type | What It Validates |
|---|---|---|
| ✅ | Functional Tests | Business requirement acceptance criteria |
| ✅ | Unit Tests | Component-level code correctness (TDD) |
| ✅ | API Tests | Service contract and endpoint functionality |
| ✅ | Integration Tests | End-to-end workflow and system interactions |
Every test traces back to your original Jira story.
Also via Web UI (Integration Test)
For the Web UI path, see the Integration Test setup guide which covers the full form-based workflow with screenshot walkthroughs.