VS Code Extension
Generate tests without leaving your editor. The RoostGPT VS Code extension gives you one-click access to every test type — Unit, API, Functional, and UI — scoped to your entire project, a single class, or a single function.
Install from the marketplace: RoostGPT on Visual Studio Marketplace
Step 1: Install the Extension
- Open VS Code and go to the Extensions panel (
Cmd+Shift+X/Ctrl+Shift+X). - Search for Roost GPT and click Install, or install directly from the marketplace page.
- Make sure all language runtimes and build tools needed to compile your code are available locally — RoostGPT runs generated tests iteratively to fix compilation errors.
After installation, the Roost GPT icon appears in the Activity Bar on the left.
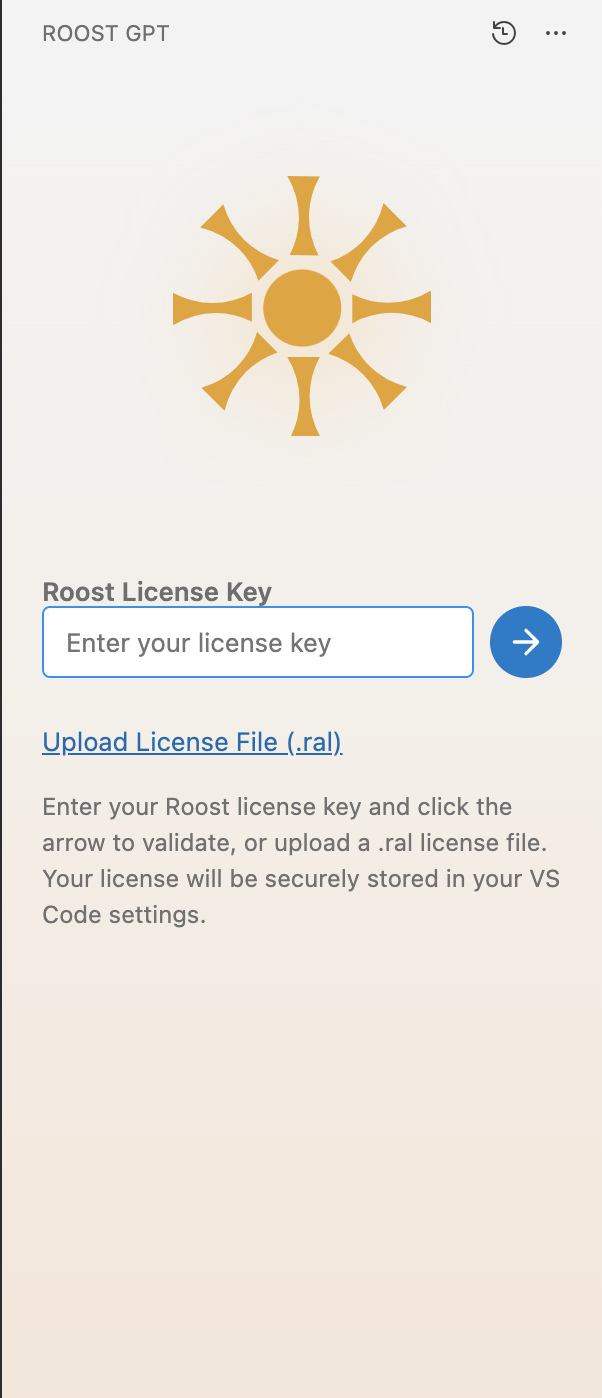
Step 2: Activate Your License
Open the Roost GPT panel. Enter your Roost license key in the input field and click the arrow to activate. You can also upload a .ral license file if your team distributes licenses that way.
Get your license key from app.roost.ai → My Profile.
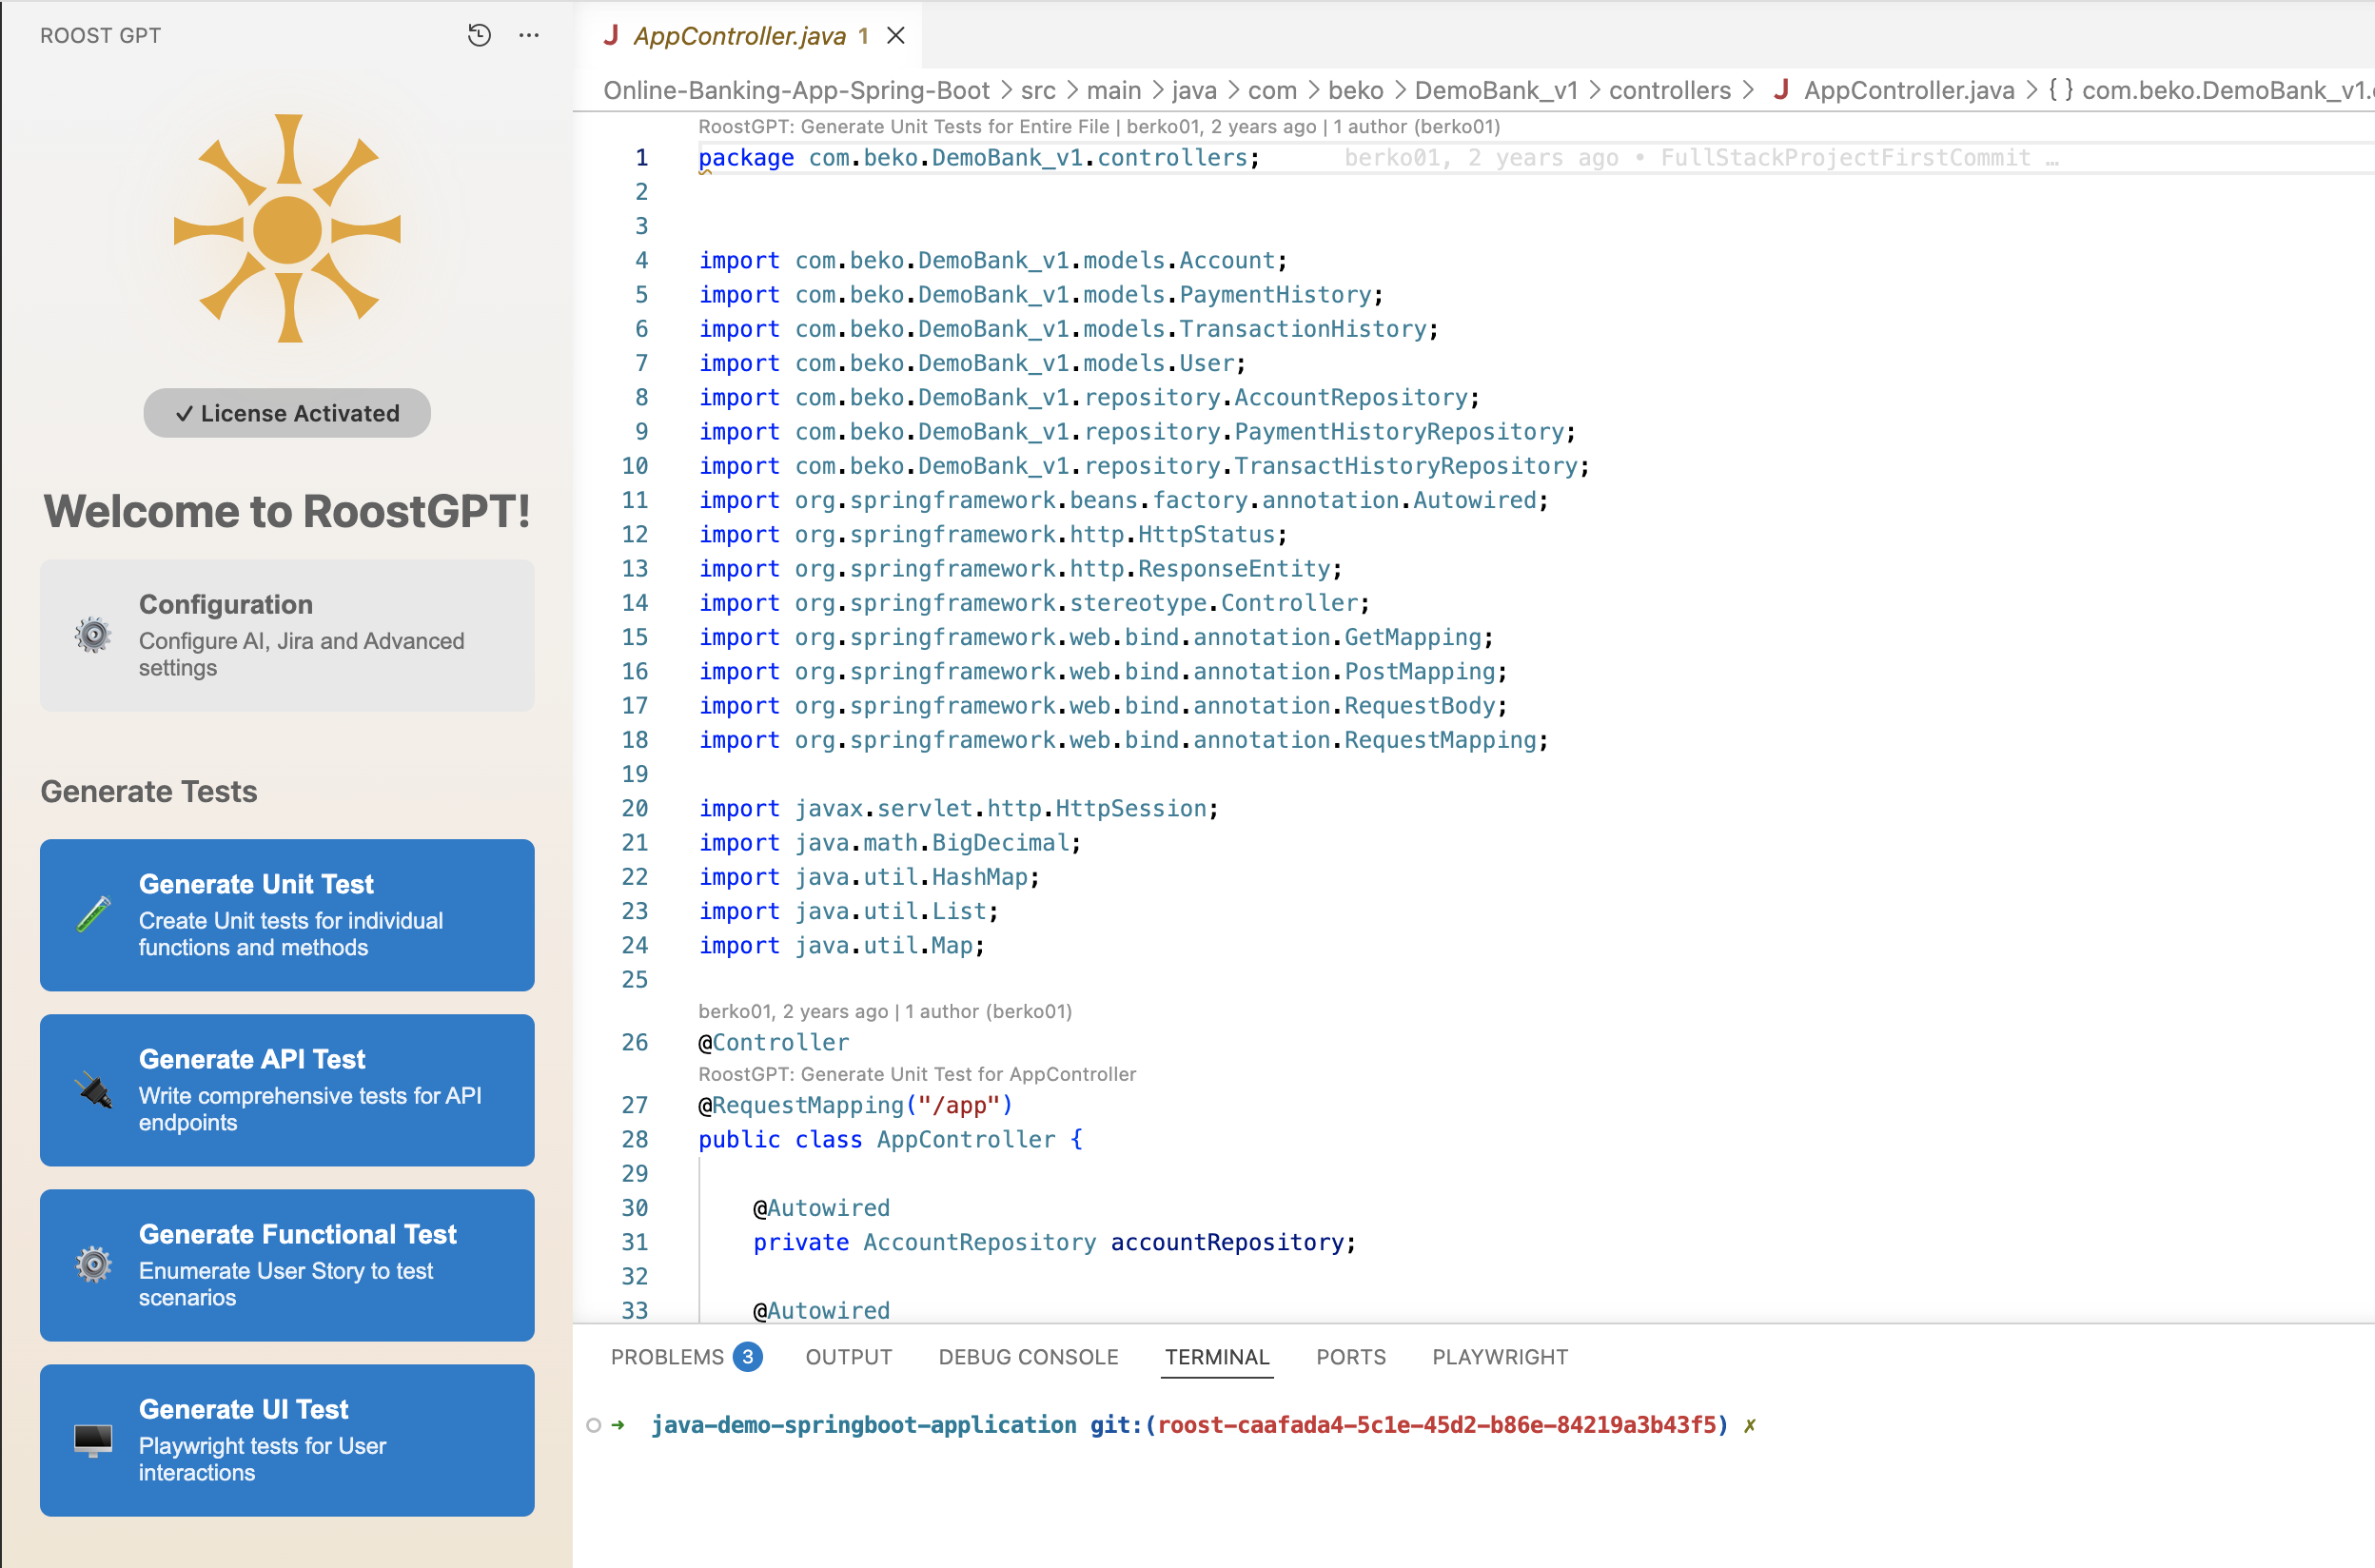
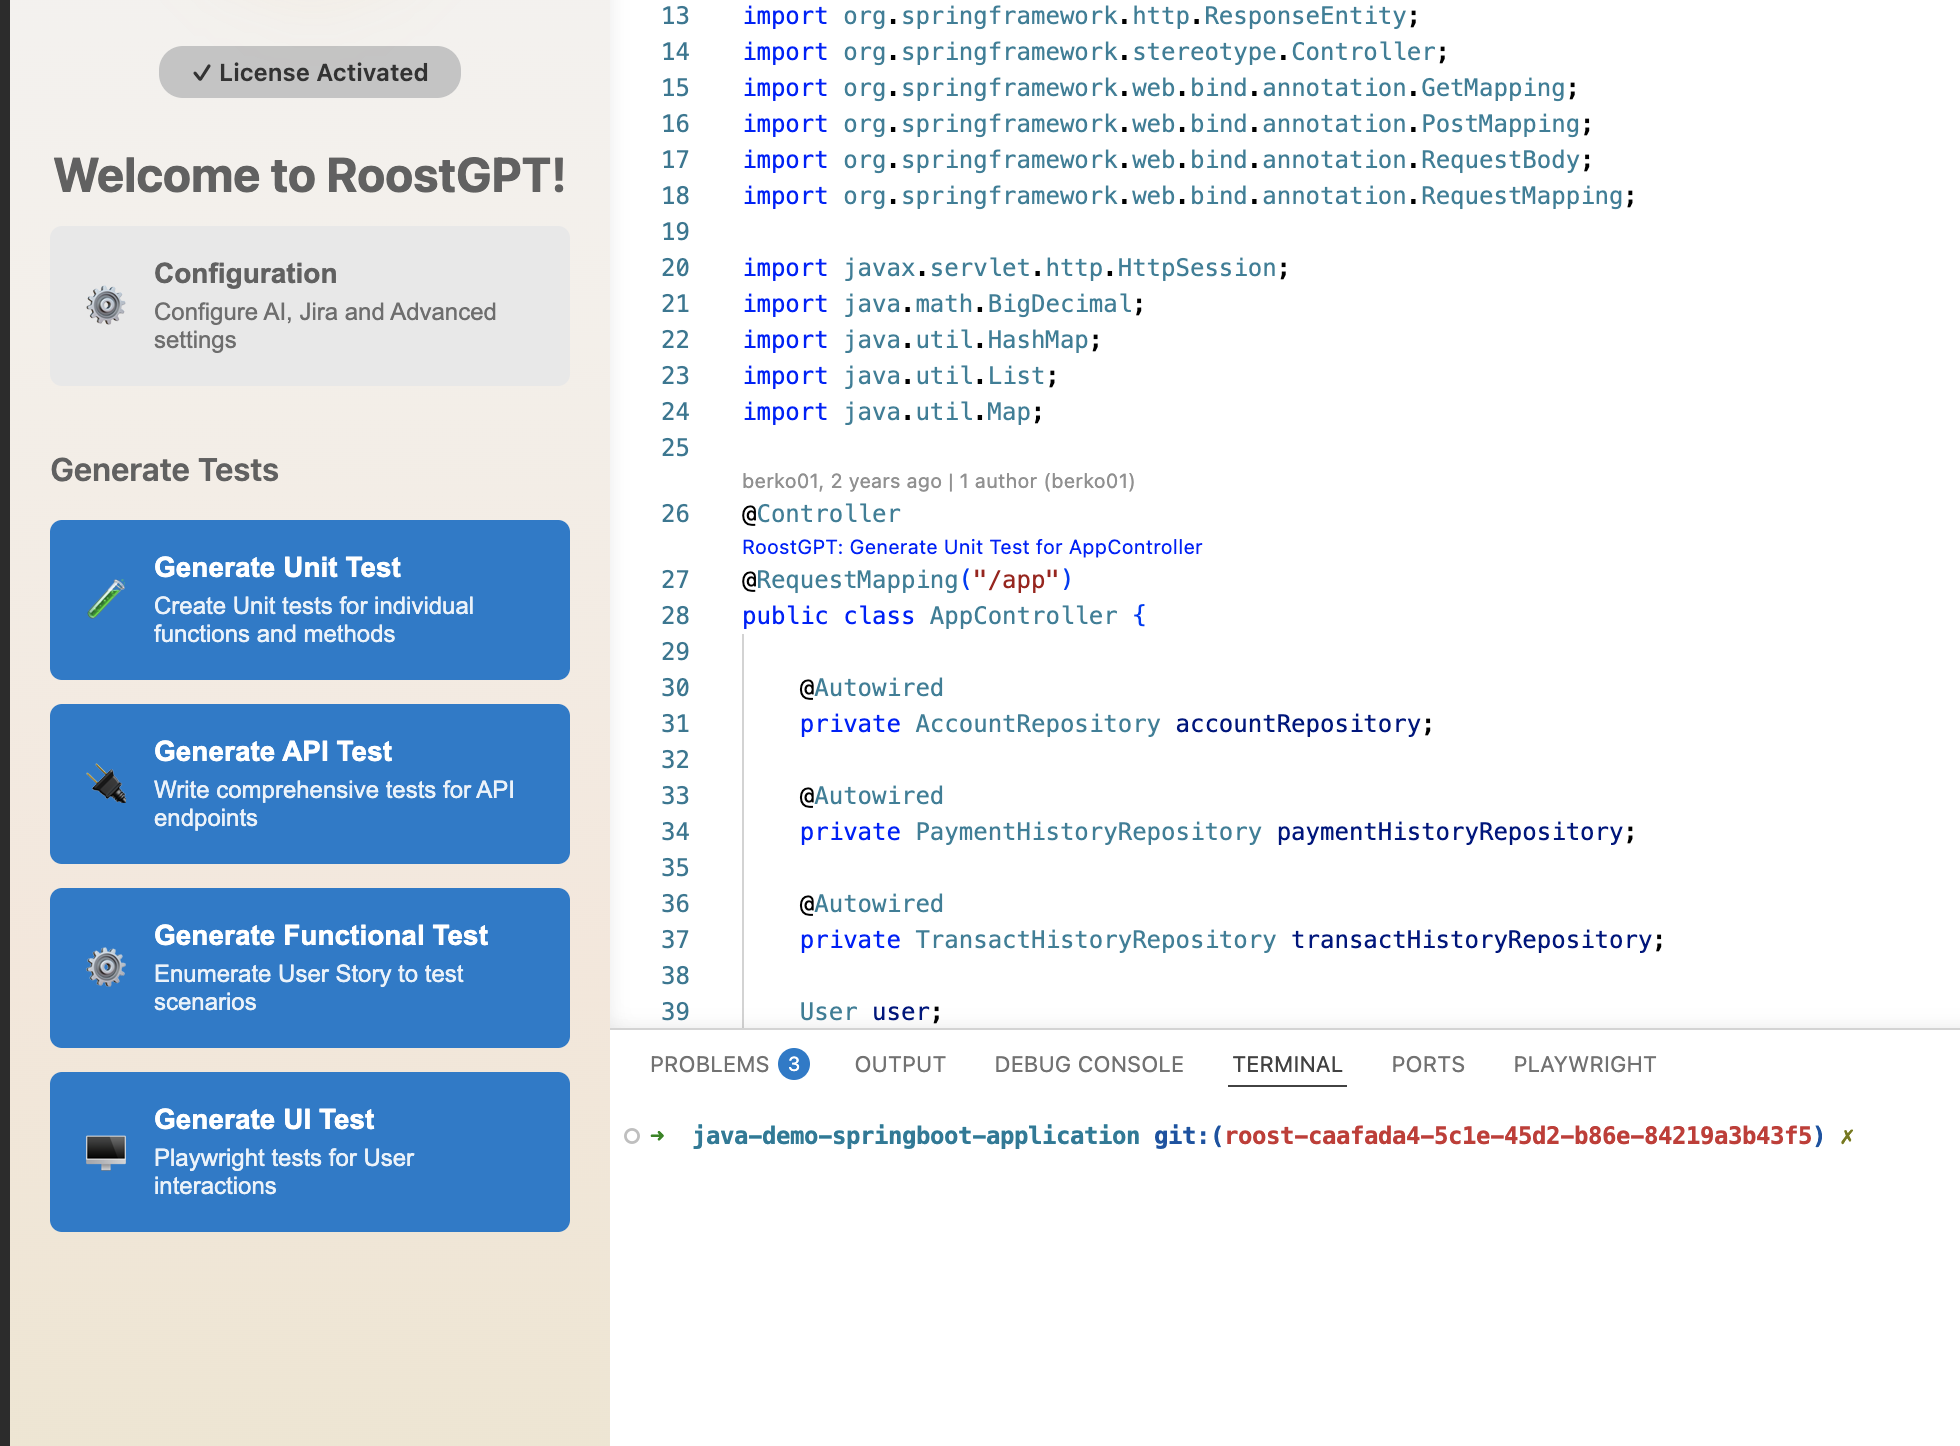
Step 3: Welcome Screen
Once your license is validated, the panel shows the Welcome to RoostGPT! screen with a Configuration link and four Generate Tests buttons — one for each supported test type.
Step 4: Configure Your AI Provider
Click Configuration → select the AI tab. Choose your provider from the Default AI Provider dropdown and enter the required credentials.
The example below shows AWS Bedrock AI selected. Credentials can be loaded from a CSV export, an AWS credentials file, or entered manually — Access Key ID, Secret Access Key, Session Token (optional), Region, and Model Type.
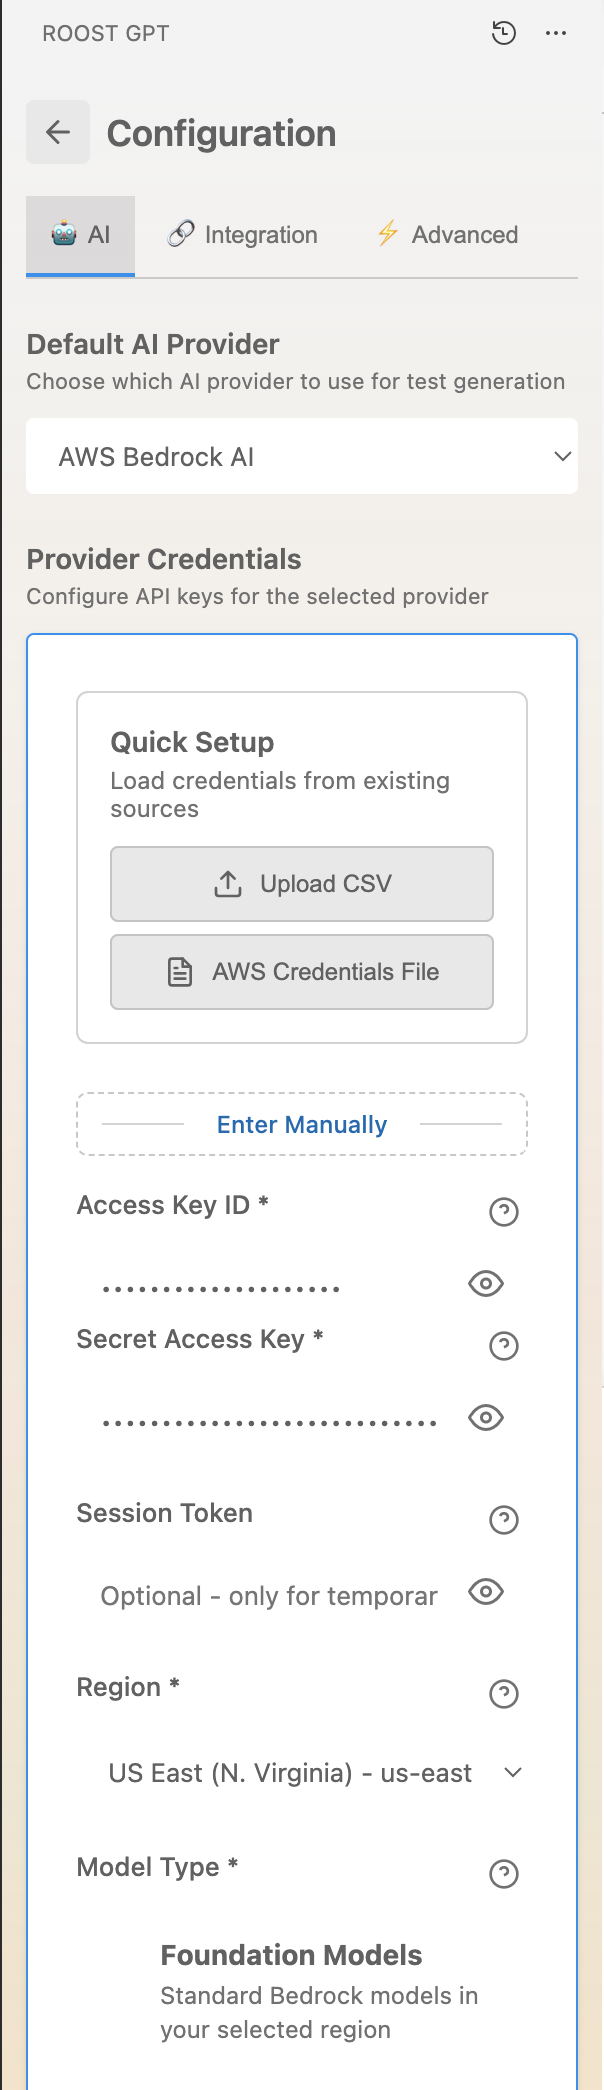
Supported providers: OpenAI, Anthropic Claude, Azure OpenAI, Google Gemini, and AWS Bedrock. See AI Provider Configuration for provider-specific field details.
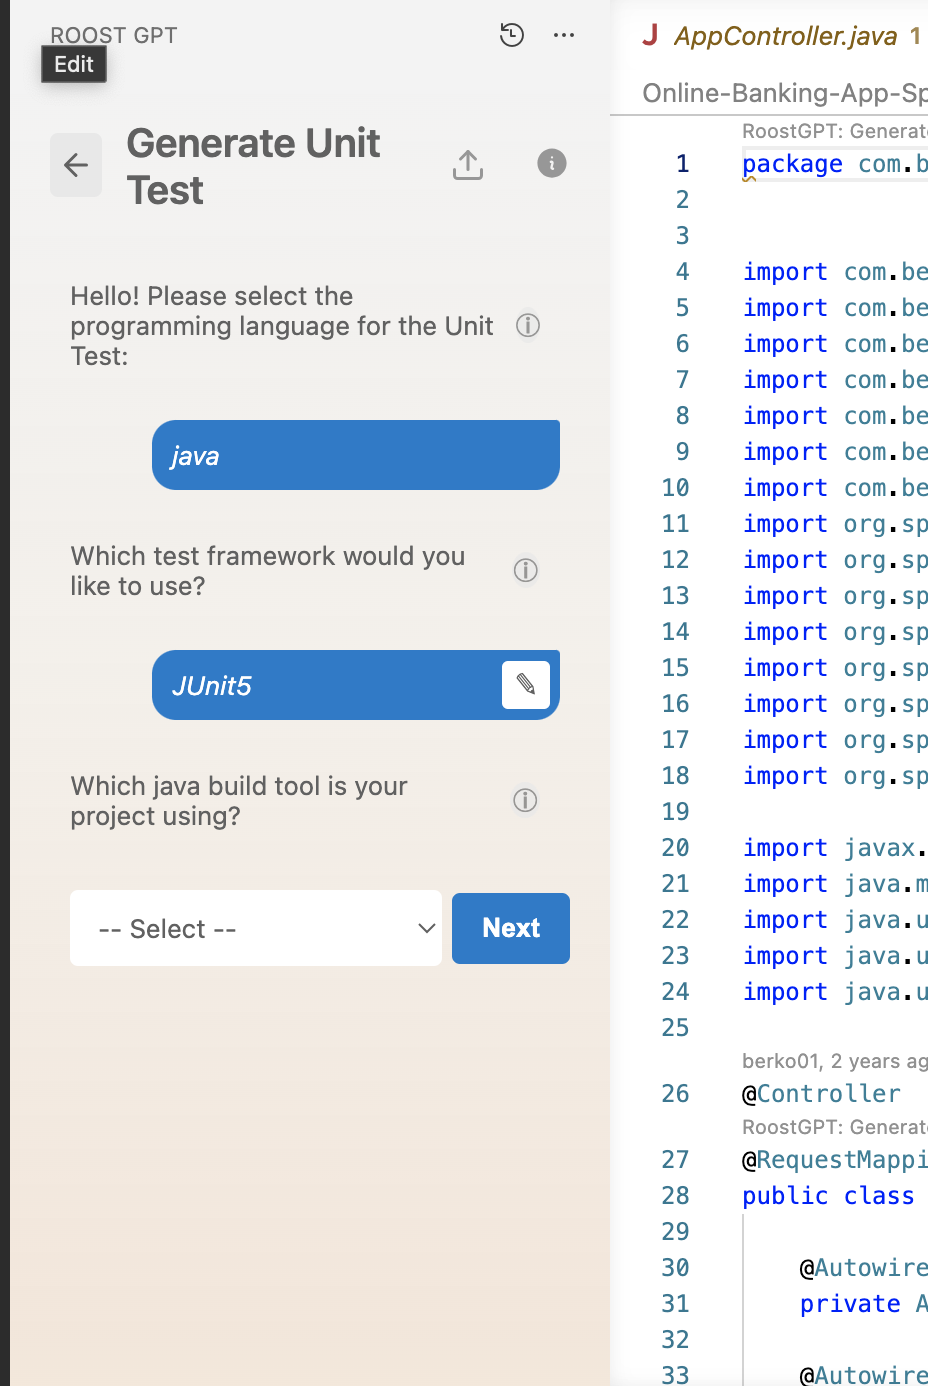
Step 5: Generate Your First Test
From the Welcome screen, click Generate Unit Test (or any other test type). A step-by-step wizard opens in the panel:
- Language — select your project language (Java, Python, Go, or C#)
- Framework — choose a test framework (e.g. JUnit5 for Java, pytest for Python)
- Build tool — select your build system (Maven, Gradle, etc.)
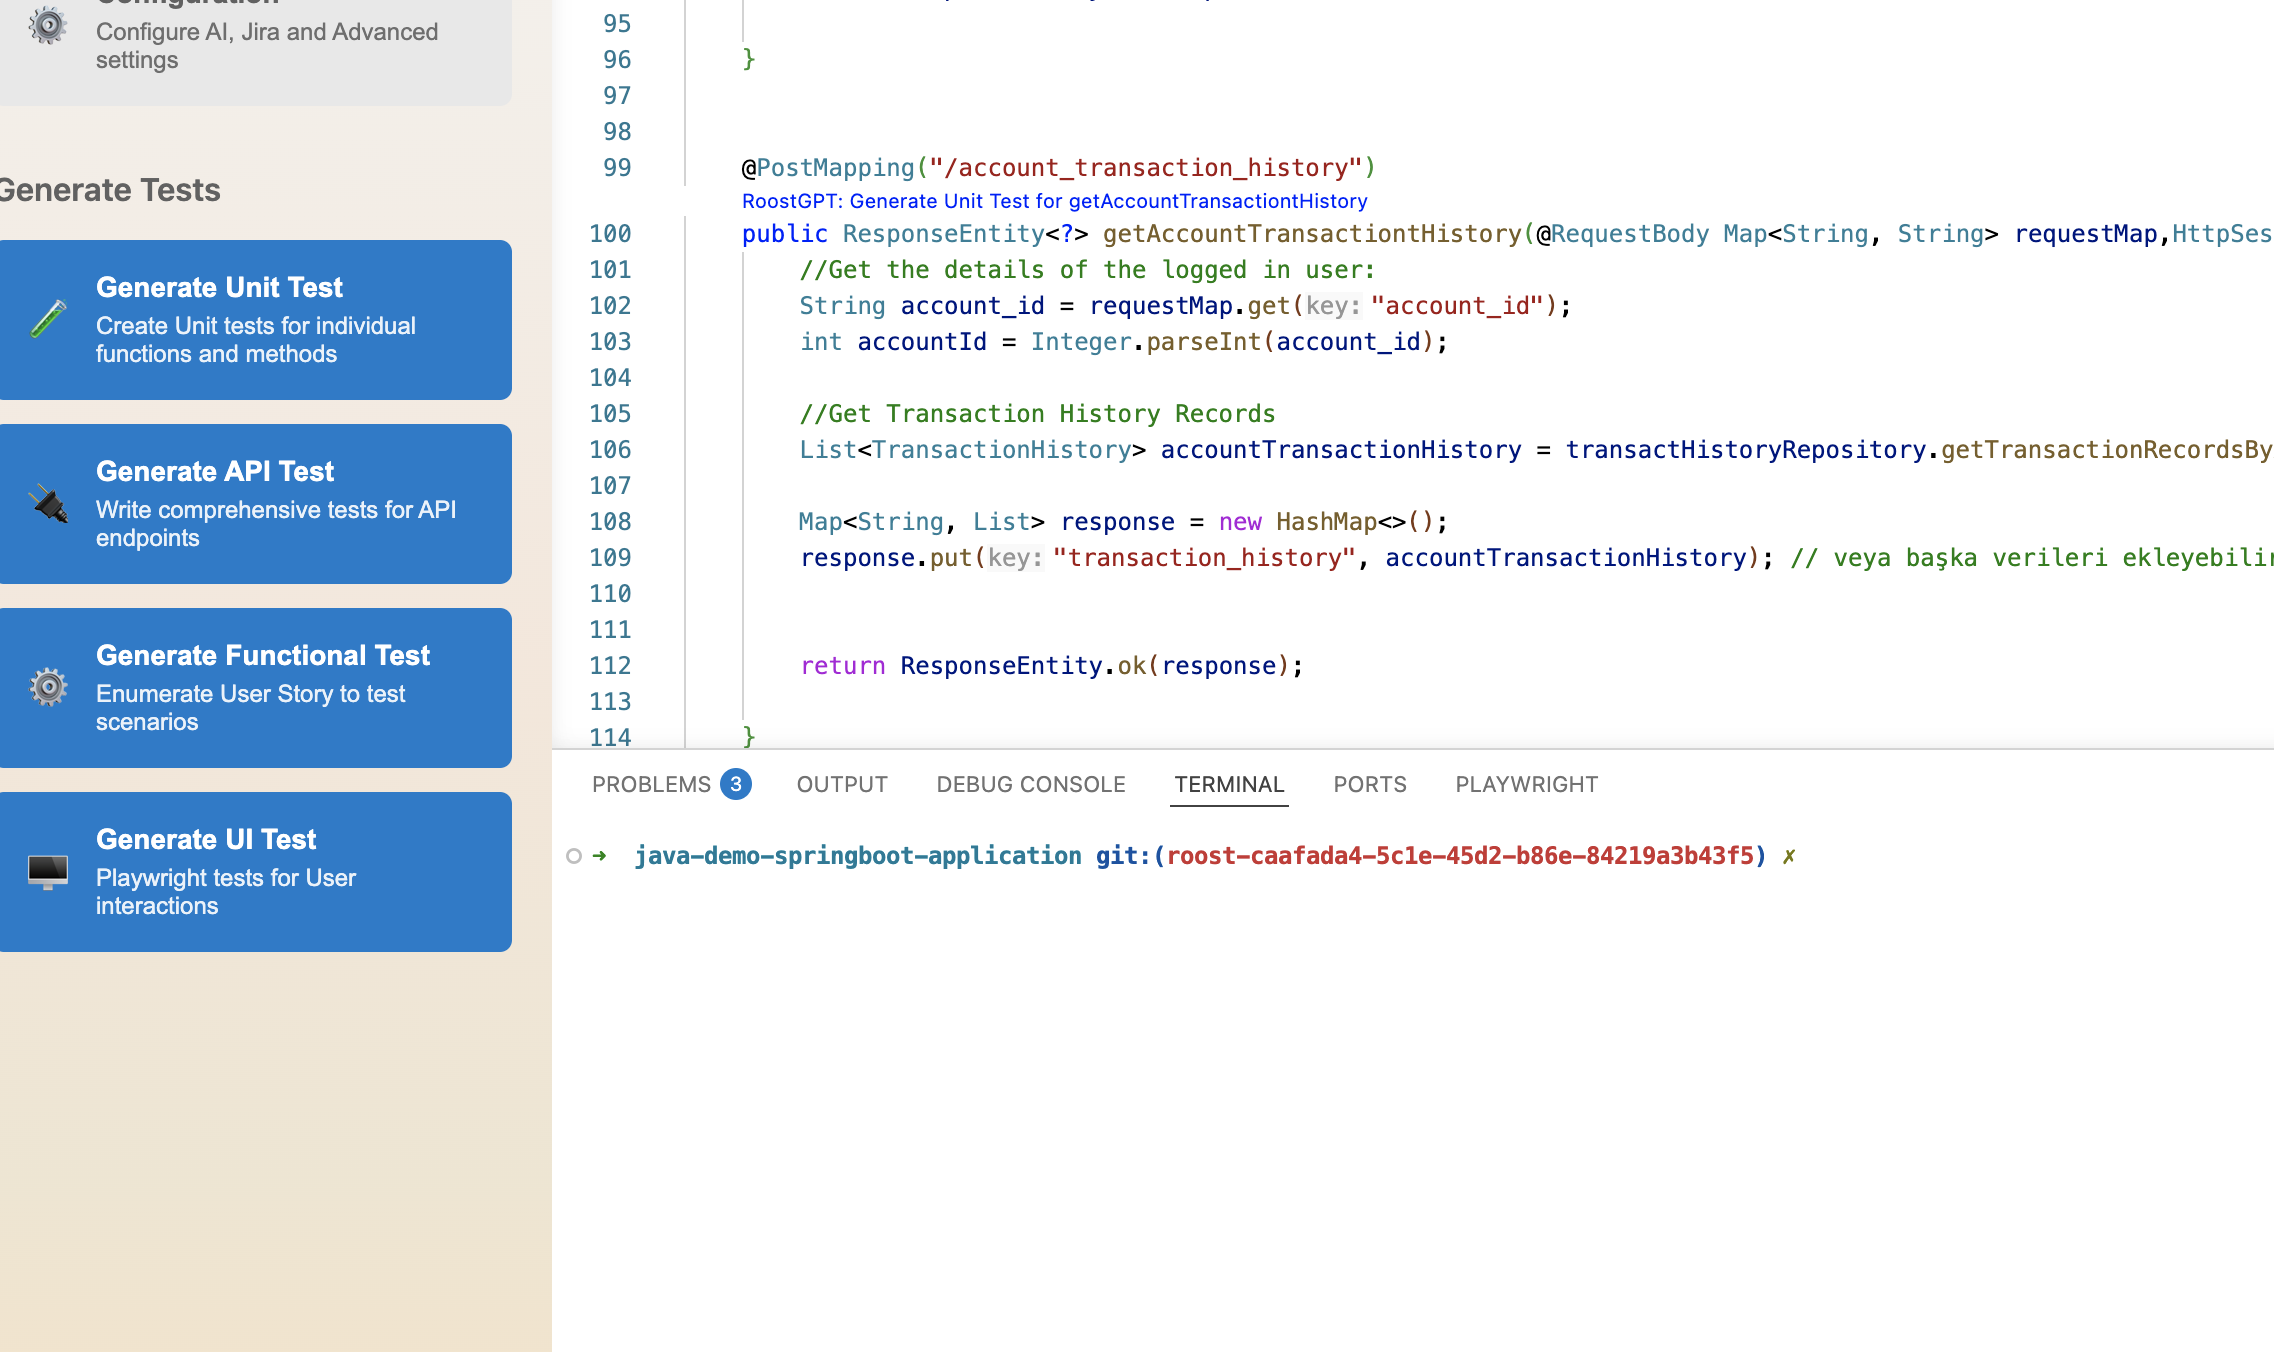
Click Next after each step. RoostGPT analyzes your repository, calls the AI model, and generates the test files.
Generated test files are placed in your project's standard test directory, mirroring the source structure.
Step 6: Scope to a Class or Function
Rather than generating tests for the entire project, you can target a specific class or function.
Class-level: Open a source file. The panel detects the active file and scopes generation to that class when you click a Generate button.
Function-level: Place your cursor inside a specific function. RoostGPT reads the function in focus and generates tests for that method only — useful for iterating on a single piece of logic.
Configuration Reference
Open Extension Settings by searching for Roost GPT in the Extensions panel → gear icon → Extension Settings.
No .env file is needed. When you click Generate, the extension walks you through an interactive step-by-step wizard — prompting you to select or enter each required value (language, framework, build tool, etc.) before generation begins.
Required Fields
| Field | Description |
|---|---|
| Roost Token | Your Roost license key from app.roost.ai → My Profile. |
| Roost Domain | Domain where the token is active. Default: app.roost.ai |
| Timeout | Test generation timeout in hours. Default: 1 |
| Language | Source language: Java, Python, Go, or C# |
| Board Type | Issue tracker for functional tests: none, jira, or azure. Default: none |
| Iterations | Run-fix-retry iterations. RoostGPT runs generated tests, feeds errors back to the AI, and retries until success or the limit is reached. Default: 1 |
| Telemetry | Set false to disable telemetry. Default: true |
| Generative AI Model | AI model for test generation — see AI Provider Settings below |
| MaxDepth | Directory traversal depth for file scanning. Default: all subdirectories |
AI Provider Settings
Configure fields for your chosen provider:
OpenAI
- OpenAI API Key
- OpenAI API Model —
gpt-4o,gpt-4, orgpt-3.5-turbo
Google Gemini
- Gemini API Key (from Google AI Studio)
- Gemini Model — e.g.
gemini-2.5-pro,gemini-2.5-flash
Claude AI
- API Key
- AI Model — select from dropdown
Azure OpenAI
- API Key
- API Endpoint
- Deployment Name
AWS Bedrock
- Access Key ID
- Secret Access Key
- Session Token (optional)
- Region
- Model Type
Advanced Fields (Optional)
| Field | Description |
|---|---|
AiTemperature | Controls output creativity/quality. Default: 0.2 |
VerifyTest | Set true to verify generated tests. Default: false |
UseDocker | Set true to run test generation inside Docker. Requires Docker Engine running locally. |
FunctionsToTest | Comma-separated list of function names to target (Unit Tests only) |
Test Types
Unit Tests
Click Generate Unit Test from the Welcome screen, or right-click a source file in the Explorer panel and select Unit Tests.
- To limit generation to specific functions, enter function names in FunctionsToTest under Advanced settings or place the cursor inside a function before clicking Generate.
- For Java: trigger from a directory containing a valid
pom.xml.
API Tests
Right-click a Postman collection JSON or Swagger/OpenAPI spec file and select Generate API Tests. Choose a framework: artillery, postman, or rest-assured.
- To filter by HTTP verb, configure HttpFilters in Advanced settings.
- To target specific endpoints, set a regex in HTTP Endpoints for Testing under Advanced.
- For Postman tests: install newman CLI first —
npm install -g newman. - For Karate / rest-assured: trigger from within a valid Java/Maven repo.
Integration Tests
Right-click a Postman collection JSON or Swagger/OpenAPI spec file and select Integration Tests. Choose a framework, then provide a Gherkin template (file path or URL).
- For Karate / rest-assured: trigger from within a valid Java/Maven repo.
Functional Tests
Requires a connected issue tracker. Set Board Type to jira or azure and provide the following credentials:
| Board | Required Fields |
|---|---|
| Jira | Jira Email, Jira Token, Jira Hostname |
| Azure Boards | Azure Org, Azure Token, Azure Project |
Reviewing and Improving Tests
After generation, a side panel opens with all generated test files. Use the dropdown to browse files.
- Edit: modify files directly in the panel and save with the Save button.
- Run: execute the selected test file. All required dependencies must be installed locally.
- Improve: enter a feedback prompt at the bottom of the panel and click Improve to trigger AI-assisted refinement.