Webhooks
Configure webhooks so your Git platform automatically notifies RoostGPT when code is pushed or a pull request is opened. RoostGPT then triggers test generation automatically.
Webhook URL
Use this endpoint as the payload/target URL in all webhook configurations:
https://<your-roost-domain>/api/application/client/git/events/add
Replace <your-roost-domain> with your RoostGPT server's DNS name.
GitHub
-
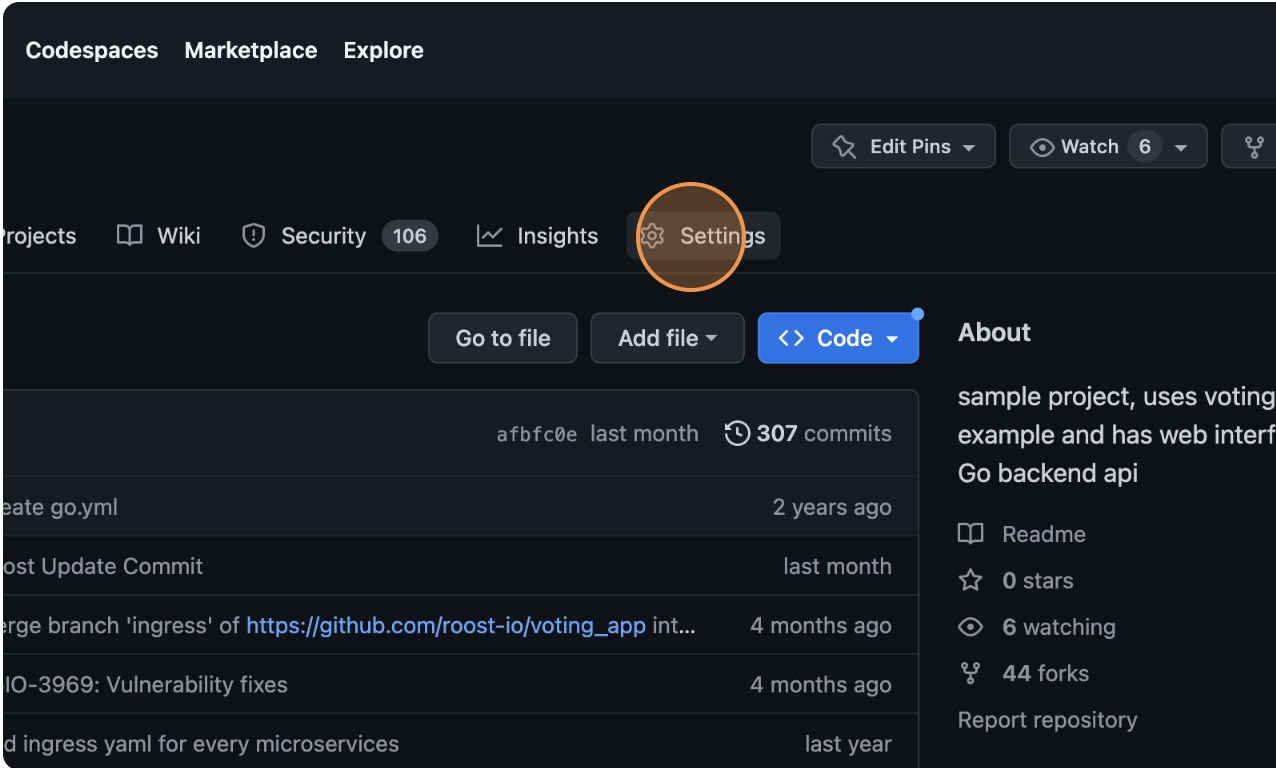
Navigate to your GitHub repository
-
Click "Settings"
-
Click "Webhooks"
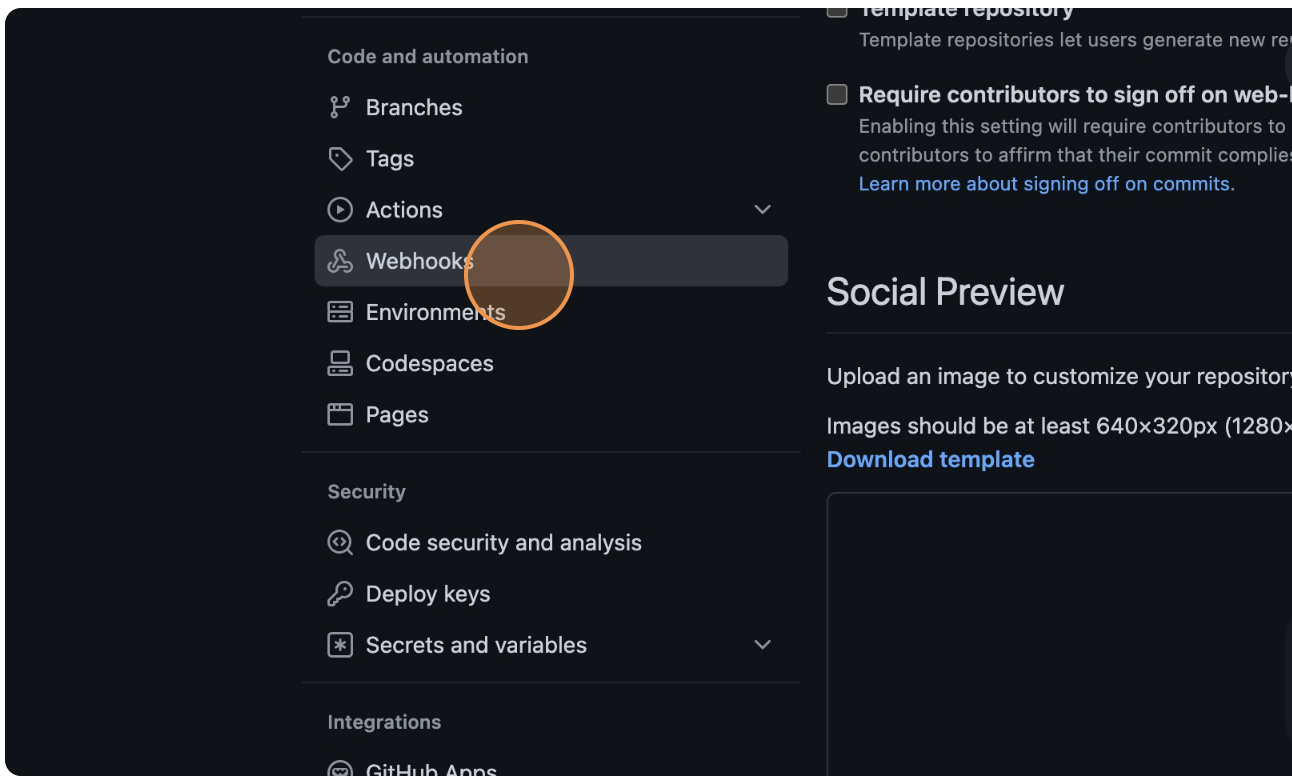
-
Click "Add webhook"
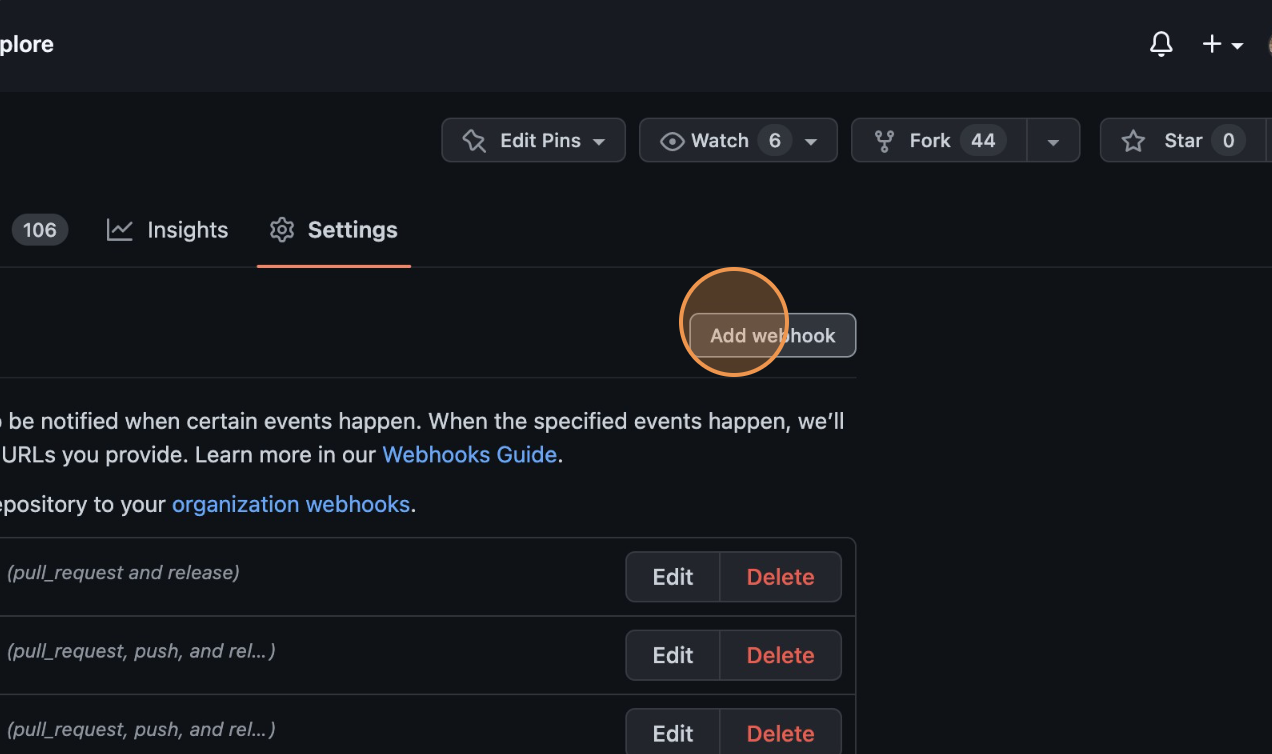
-
Set:
- Payload URL:
https://<your-roost-domain>/api/application/client/git/events/add - Content type:
application/json
- Payload URL:
-
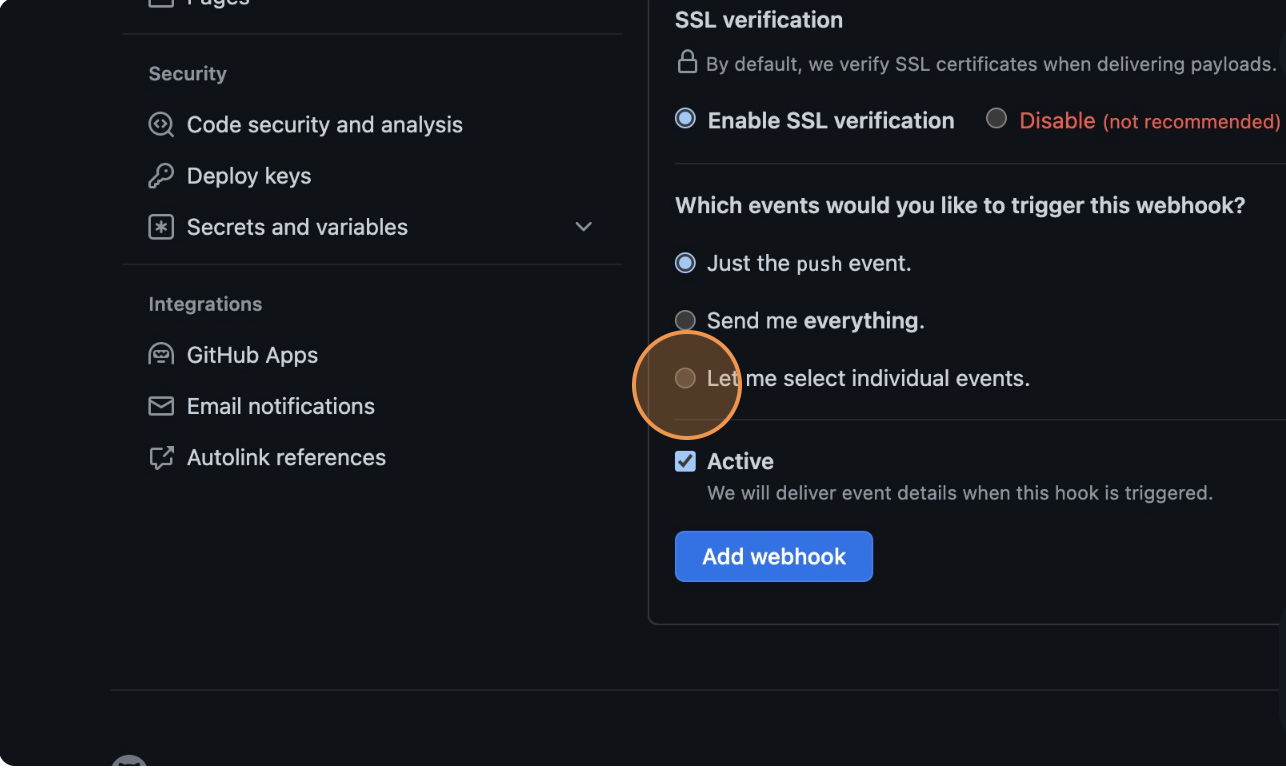
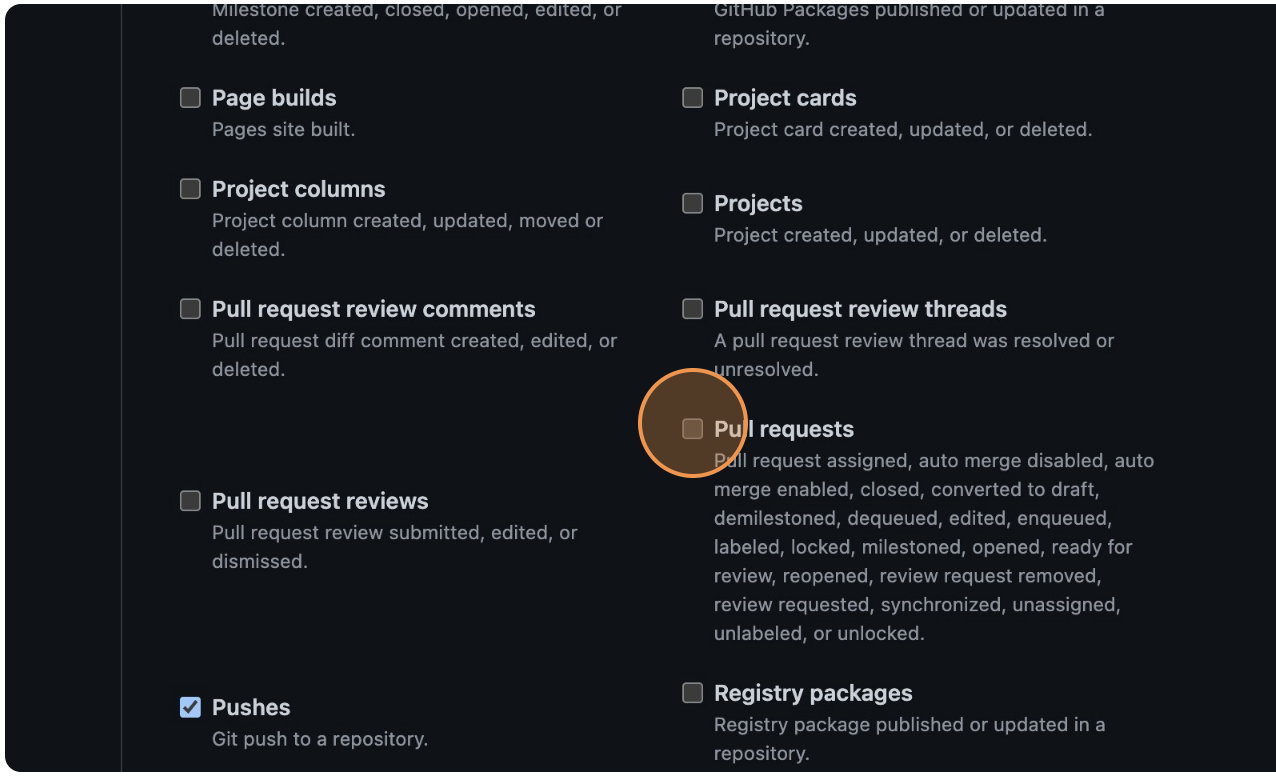
Click "Let me select individual events" and select:
- Pull Requests
- Pushes
- Releases
-
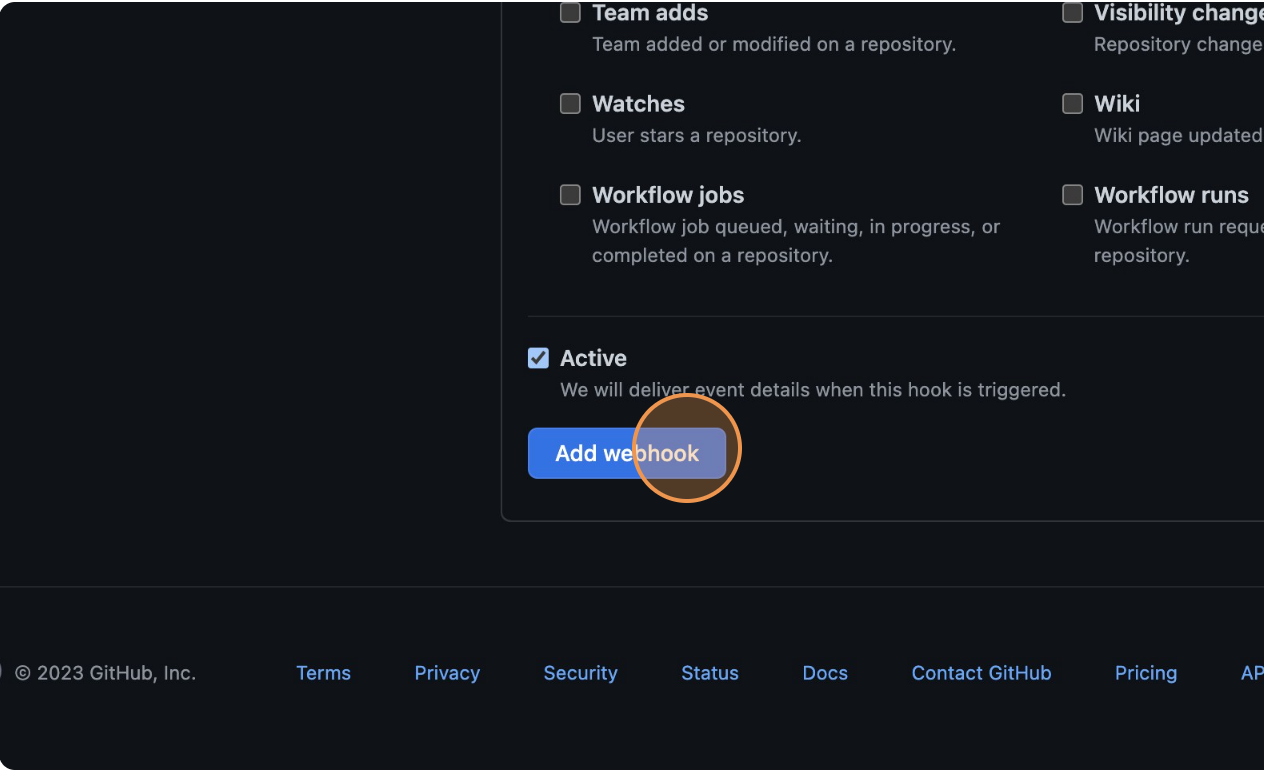
Click "Add webhook"
GitLab
-
Navigate to your GitLab repository
-
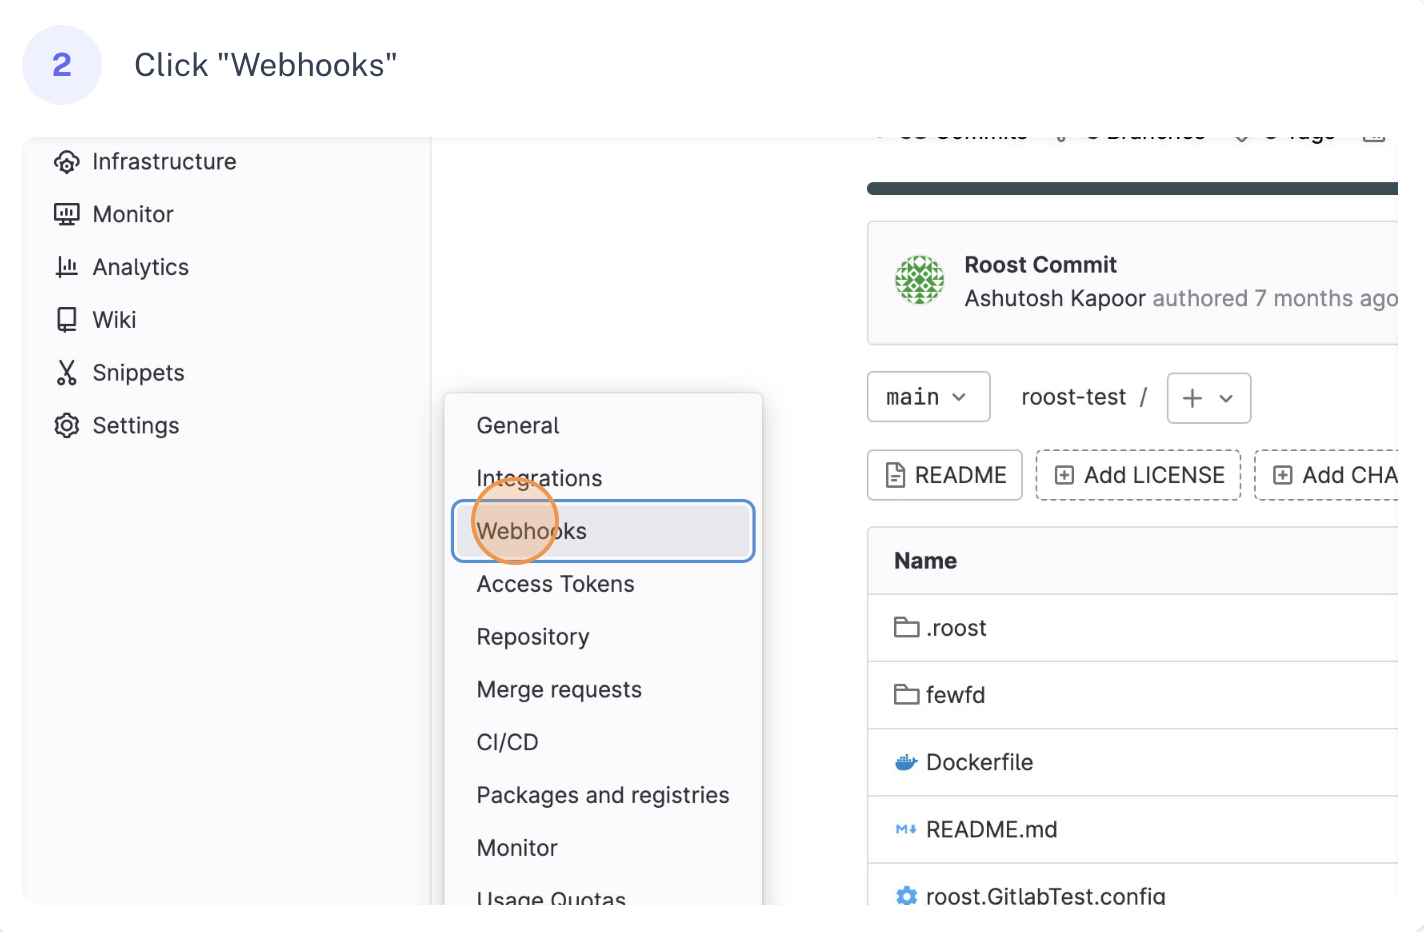
In the left sidebar, click Settings → Webhooks
-
In the URL field, enter:
https://<your-roost-domain>/api/application/client/git/events/add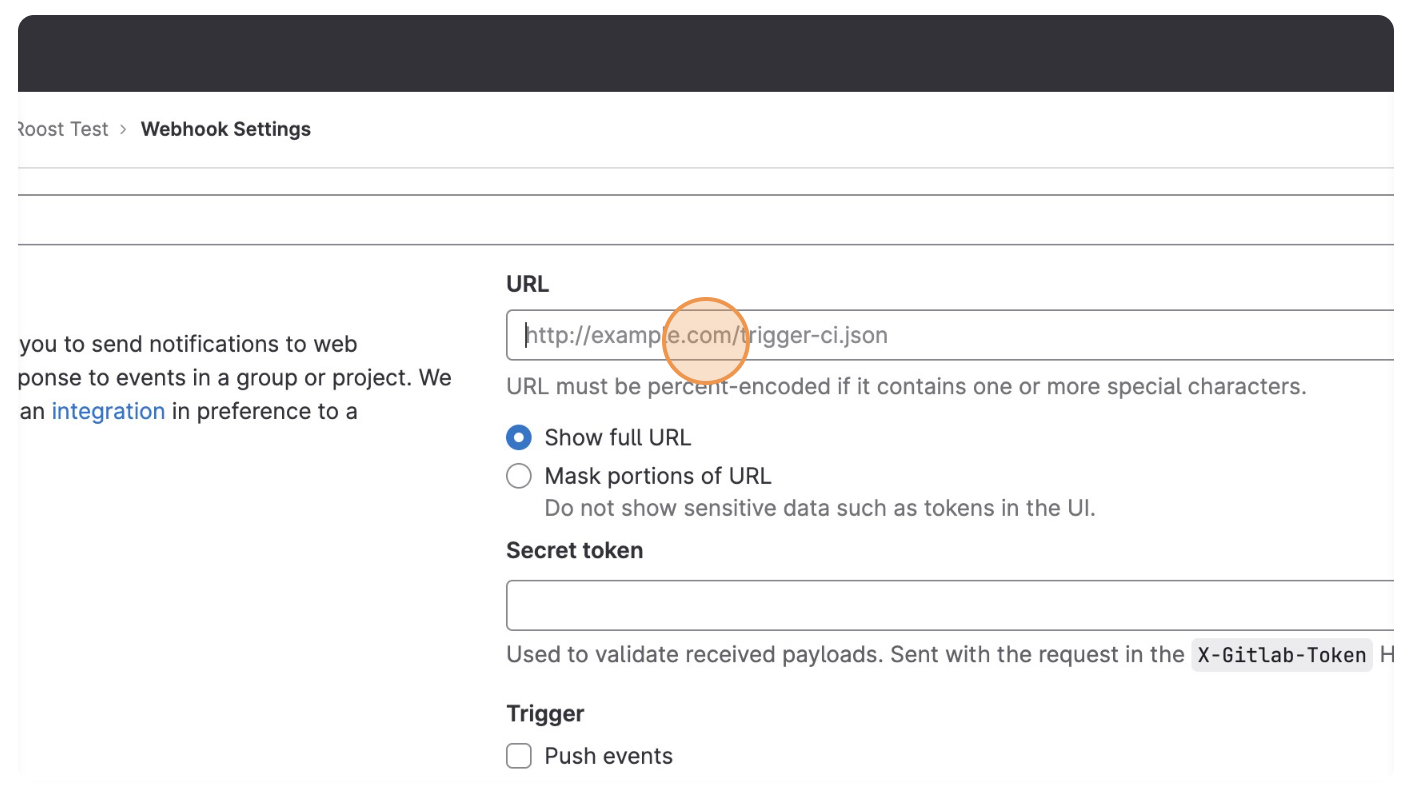
-
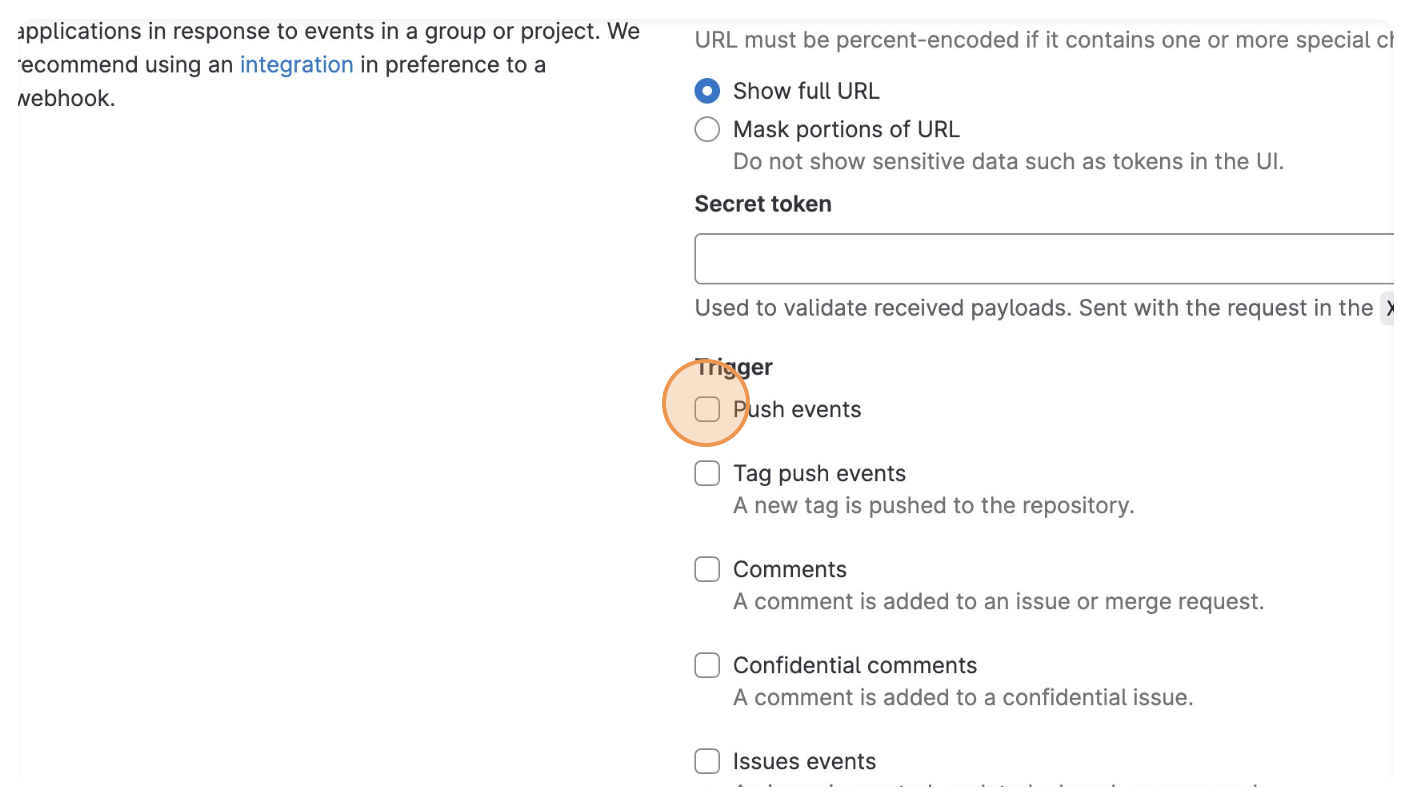
Under Trigger, select:
- Push events
- Merge request events
- Release events
-
Click "Add webhook"
Bitbucket Cloud
-
Navigate to your Bitbucket repository
-
In the left sidebar, click "Repository Settings"
-
Click "Webhooks" in the left sidebar
-
Click "Add webhook"
-
Set a Title (e.g.,
RoostGPT) -
Set URL:
https://<your-roost-domain>/api/application/client/git/events/add -
Under Triggers, select:
- Pull Request: Created, Updated, Merged, Declined
- Repository: Push
-
Click "Save"
Bitbucket Server
-
Navigate to your Bitbucket Server repository
-
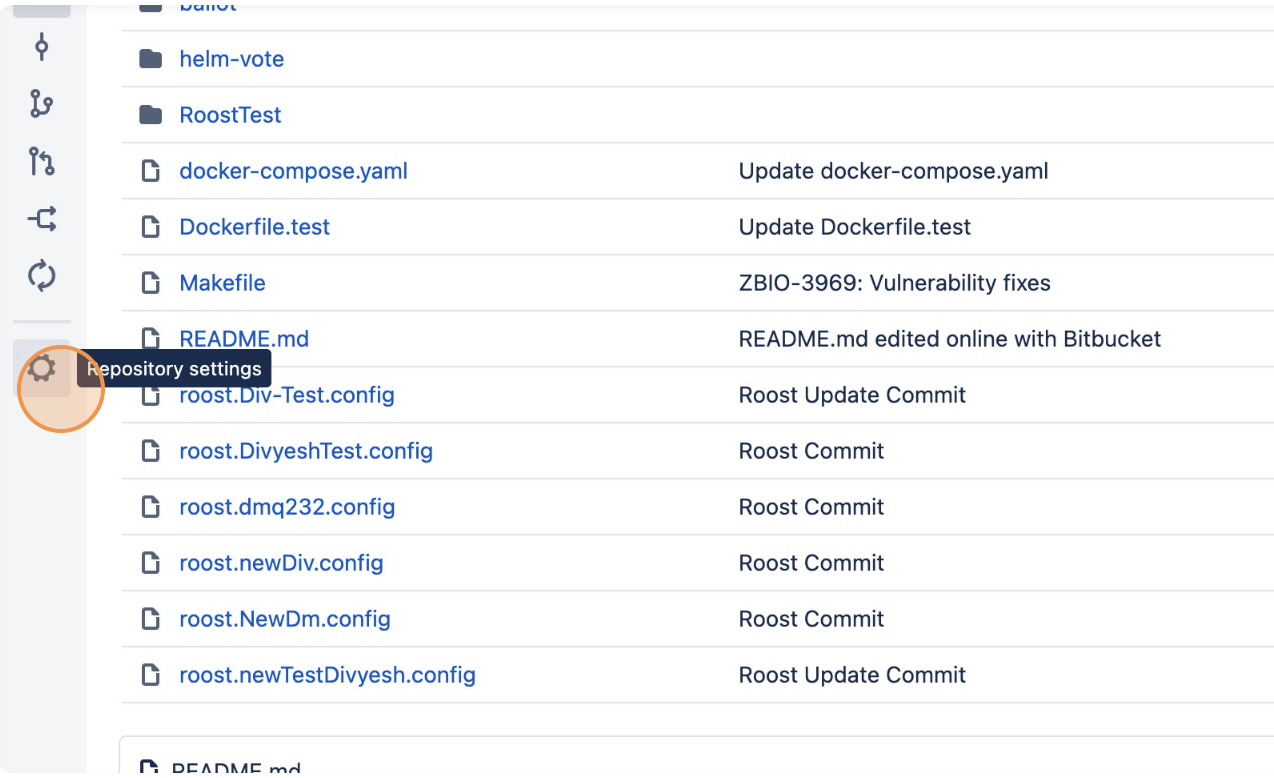
Click "Repository settings"
-
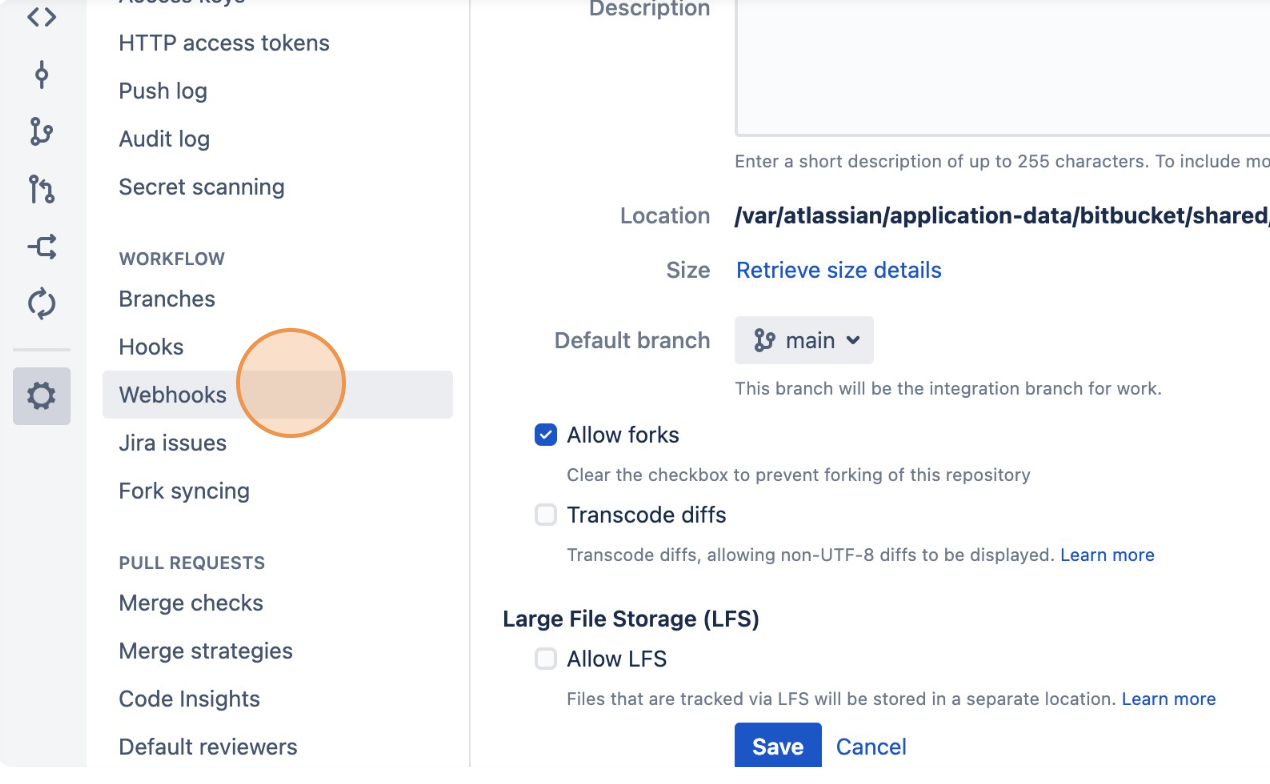
Click "Webhooks"
-
Click "Create webhook"
-
Set:
- Name:
roost-webhook - URL:
https://<your-roost-domain>/api/application/client/git/events/add
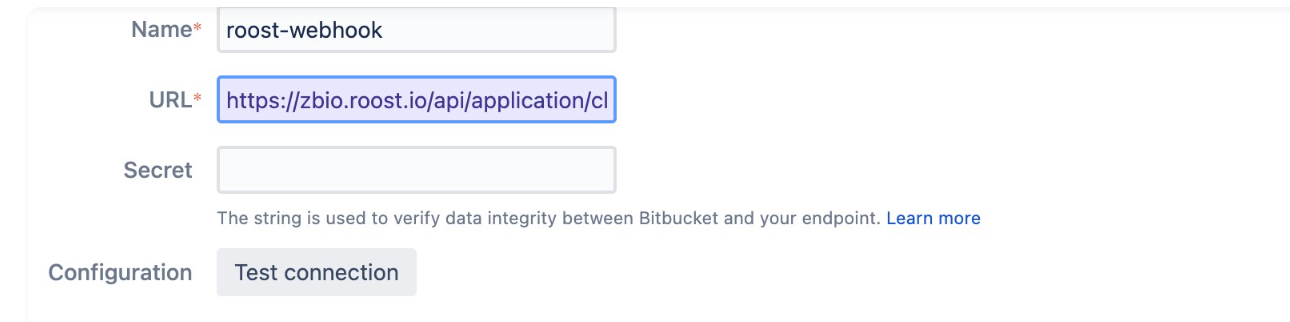
- Name:
-
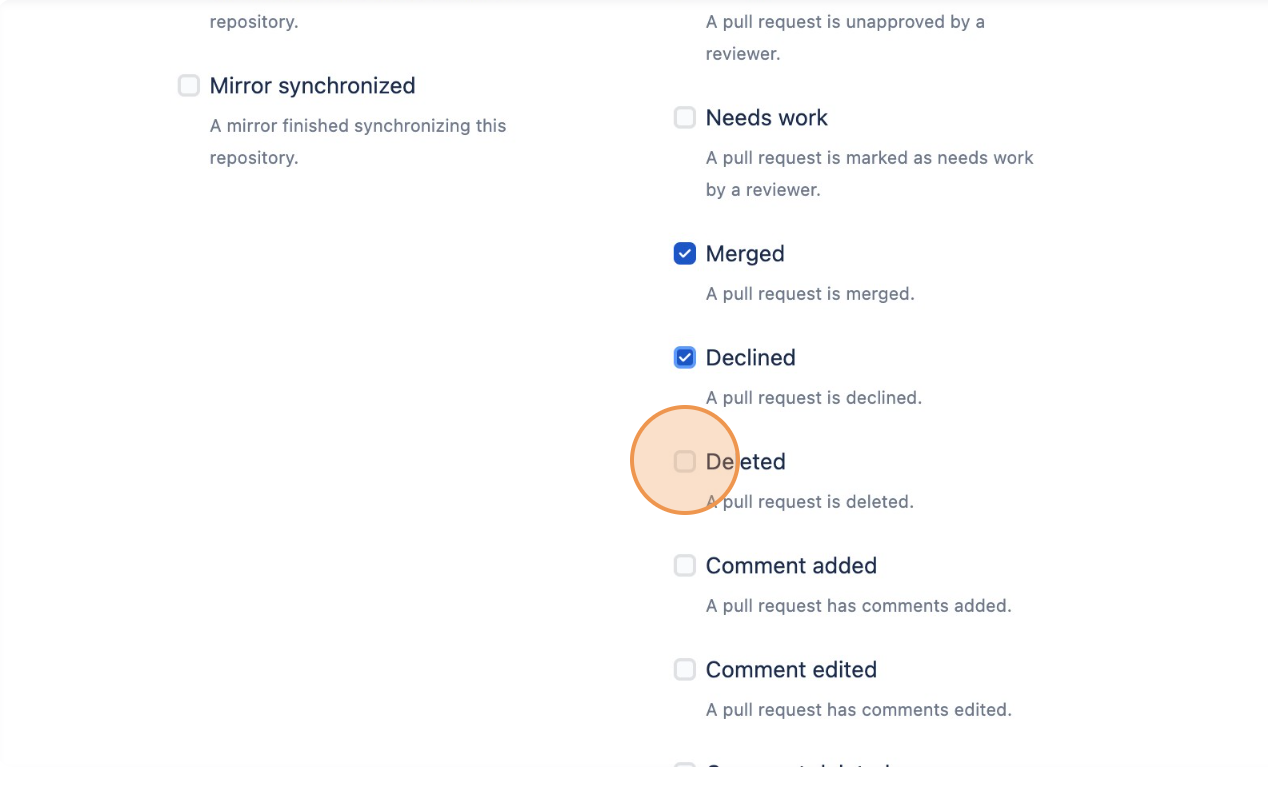
Select events:
- Push
- Pull Requests: Opened, Source branch updated, Modified, Merged, Declined, Deleted
-
Click "Create"
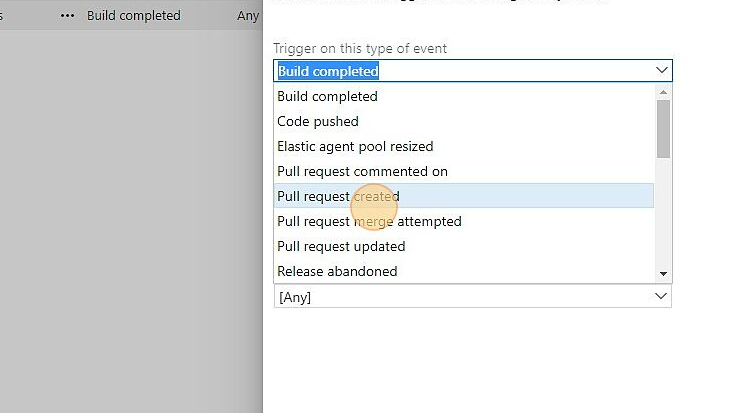
Azure DevOps
Azure DevOps uses Service Hooks for webhook-style event notifications. You need to create three separate subscriptions: Code Pushed, Pull Request Created, and Pull Request Merged.
-
Navigate to
https://dev.azure.com/{organization}/{project} -
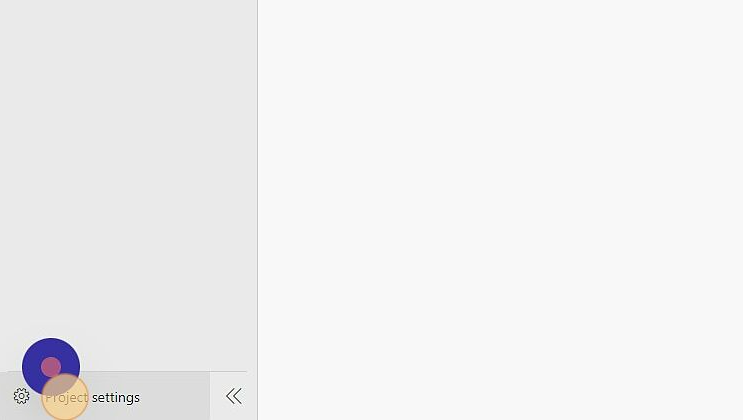
Click "Project settings" (bottom-left corner)
-
Click "Service hooks" → "Create Subscription"

-
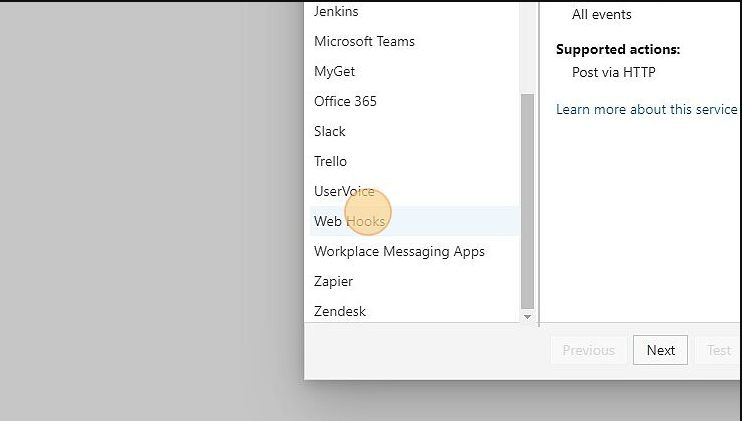
Select Web Hooks as the service and click Next
-
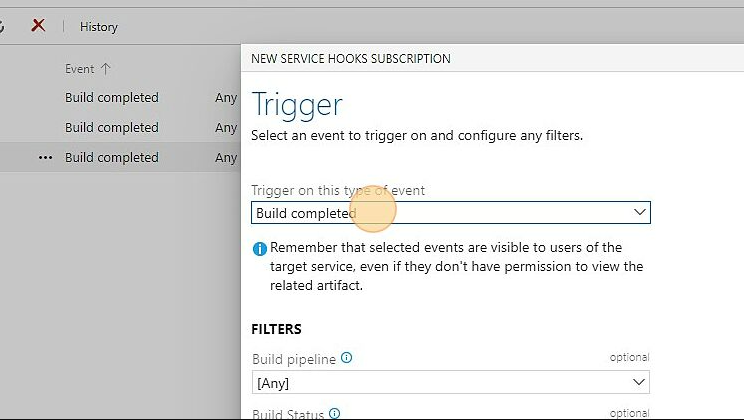
For the first subscription, select event "Code pushed"
-
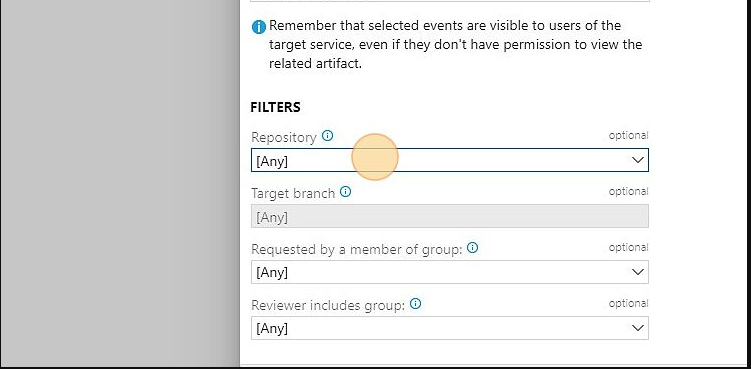
Select the specific repository and branch (or leave as "Any")
-
Set the URL:
https://<your-roost-domain>/api/application/client/git/events/add
-
Click Finish
-
Repeat steps 3–8 for:
- "Pull request created"
- "Pull request merged"