OpenAI Configuration
Configure an OpenAI API key for use with RoostGPT.
Step 1: Generate an API Key
-
Log into platform.openai.com
-
Navigate to API Keys in the left sidebar
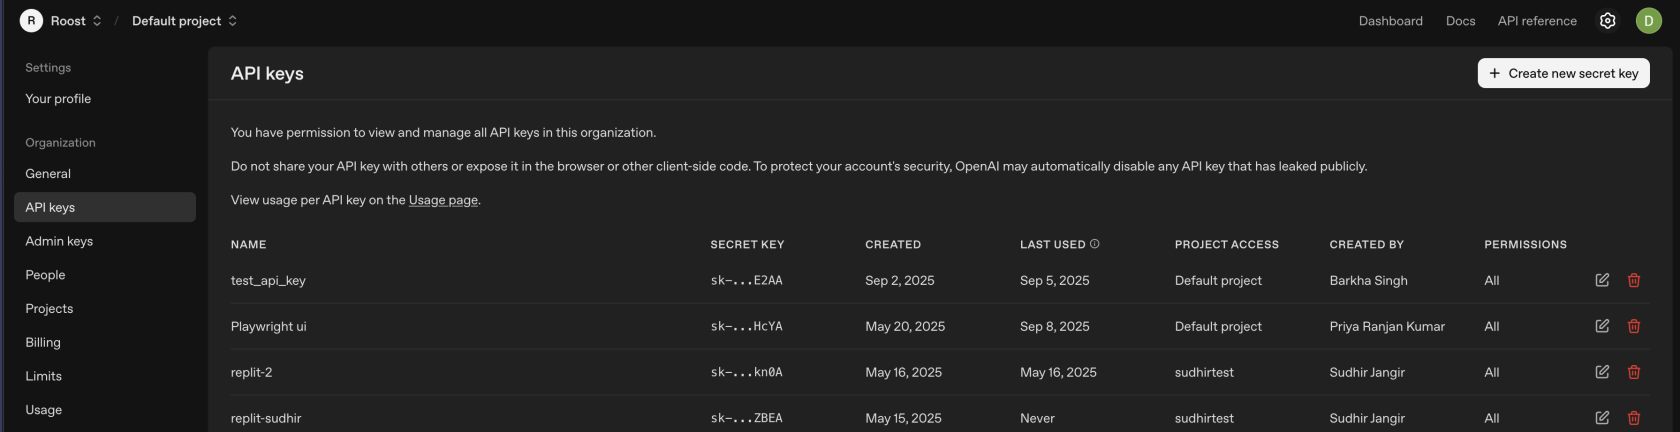
-
Click "Create new secret key"
-
Configure the key:
- Name: Enter a descriptive name (e.g.,
RoostGPT Production) - Permissions: Select All
- Project: Choose a project (optional)
- Name: Enter a descriptive name (e.g.,
-
Click "Create secret key"
-
Copy the key immediately — it is shown only once
Step 2: Add to RoostGPT
Web UI (Connector)
- Click Connectors in the top navigation bar → AI Model
- Select OpenAI
- Paste your API key
- Select your default model
CLI (.env file)
AI_TYPE=openai
OPENAI_API_KEY=sk-...your_key...
OPENAI_API_MODEL=gpt-4o
Recommended Models
| Model | ID | Context Window | Best For | Pricing |
|---|---|---|---|---|
| GPT-4o (Primary) | gpt-4o | 128K | All RoostGPT tasks — reliable, proven | ~$2.50/1M in, ~$10/1M out |
| GPT-5 (Advanced) | gpt-5 | 272K | Complex reasoning, large codebases | $1.25/1M in, $10/1M out |
| GPT-4.1 (Balanced) | gpt-4.1 | ~128K | Enhanced over GPT-4o | Competitive with GPT-4o |
Start with gpt-4o — it is the most tested and proven model for RoostGPT across all test types.
Notes
- API keys are project-scoped if your OpenAI account uses projects. Ensure the key has access to the model you select.
- Keep your key secure — treat it like a password. Do not commit it to source control.
- Set usage limits on platform.openai.com/account/limits to prevent unexpected charges.